5) Prepare to mount a crystal
To do this properly you need to be sitting at a stereo-microscope. Make sure that you are comfortable. It is much easier to manipulate crystals and much less likely that you will make a dumb mistake if you are sitting properly. Ignore everything and everyone else in the lab: they are irrelevant at this point. All your attention must be on the task at hand. This is not a joke.
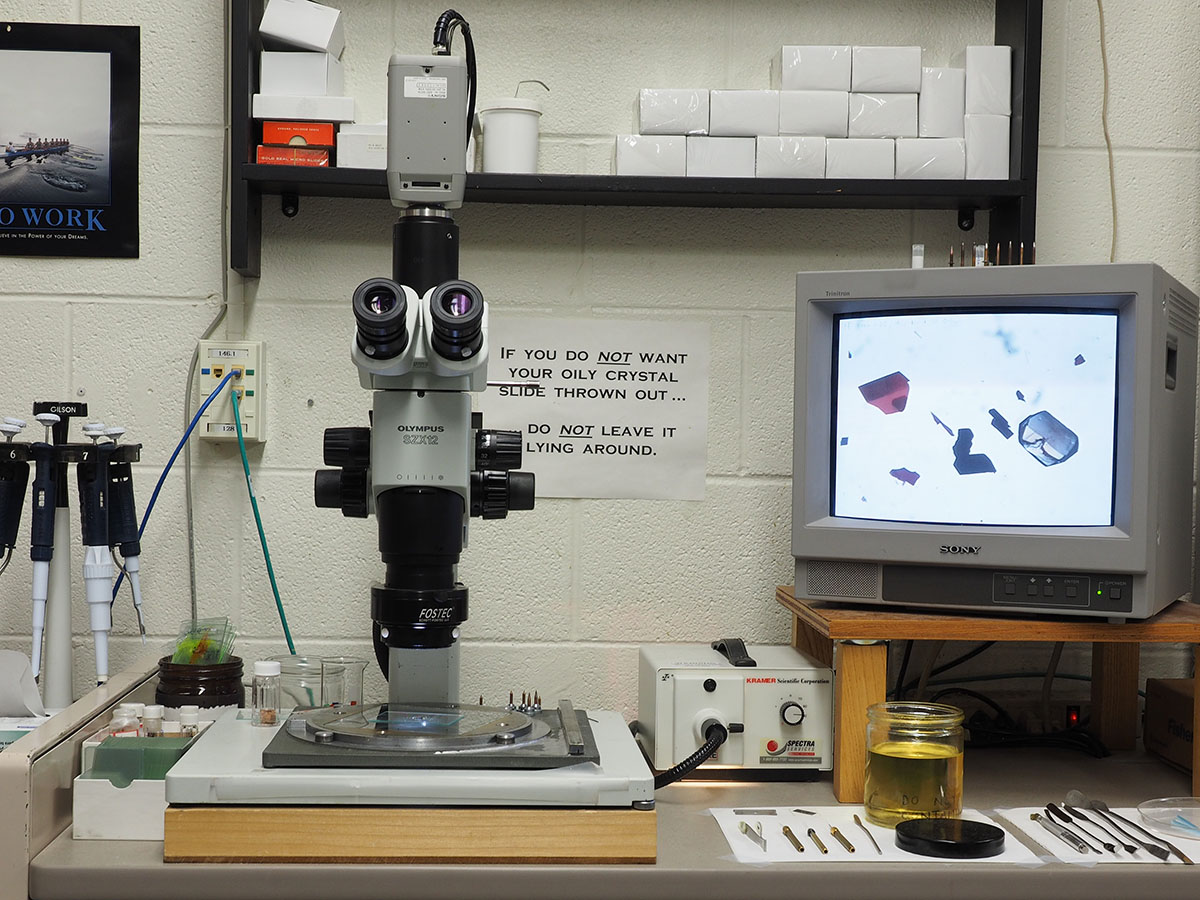
The microscope allows transmitted light (shines up from below) or reflected light (shines down from above). The light source on the right behind the SZX12 microscope delivers light via fibre-optics. Turn the knob to about 90. A fibre-optic ring light is also available for reflected light. Normally the ring light is not used, but it is easily attached by first removing the polarizer on the microscope objective lens and sliding the ring light down. It is easy to do, but not totally obvious, so ask before breaking it. For reflected light, place an opaque sheet (e.g. paper) over the rotating stage centre. Sometimes you might need to raise the microscope higher than its rack-and-pinion mechanism allows. The release screw is a big black knob on the back of the scope body. Be careful though, it is quite heavy and you do NOT want to risk slamming the objective lens into the rotating stage.
Important: Wipe off the spatula first! You don't know what the previous user had used it for and you do NOT want to contaminate the oil. Nor do you want to inadvertently determine the structure of someone else's discarded crystals. You will feel silly if you do that.
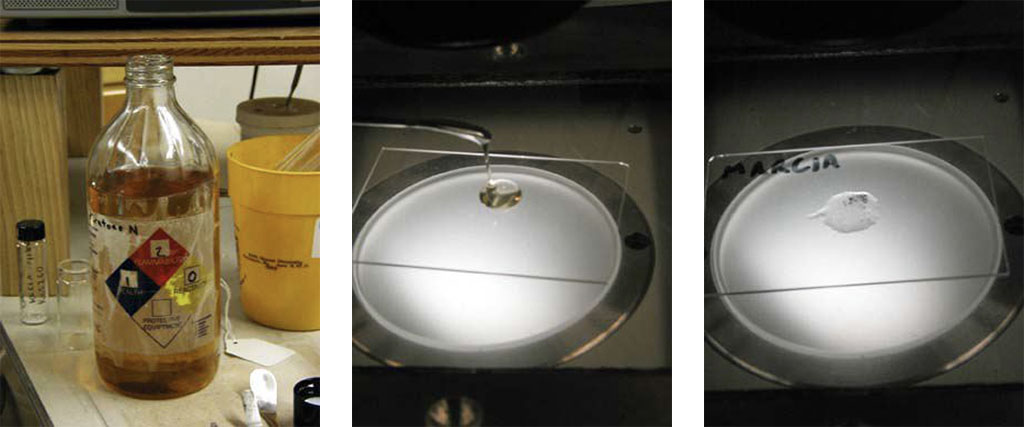
The oil is nowadays in a jar rather than a bottle. Scoop a small blob of oil on a spatula, plop it on a slide, stick some crystals in it, and cover them with the oil. The oil acts as a barrier to air and moisture as well as making a rigid mount when it is placed in the cold-gas stream on the diffractometer. Also, try not to get oil all over the place: it is a nuisance to clean up. If you know that the spatula has only oil on it (i.e. no crystals, crud, solvent, or slime) then wipe the excess from the spatula back into the glass jar. Otherwise clean it with a tissue.
It is now time to assess the crystals, so proceed to part 6.