3) Prepare the diffractometer for mounting
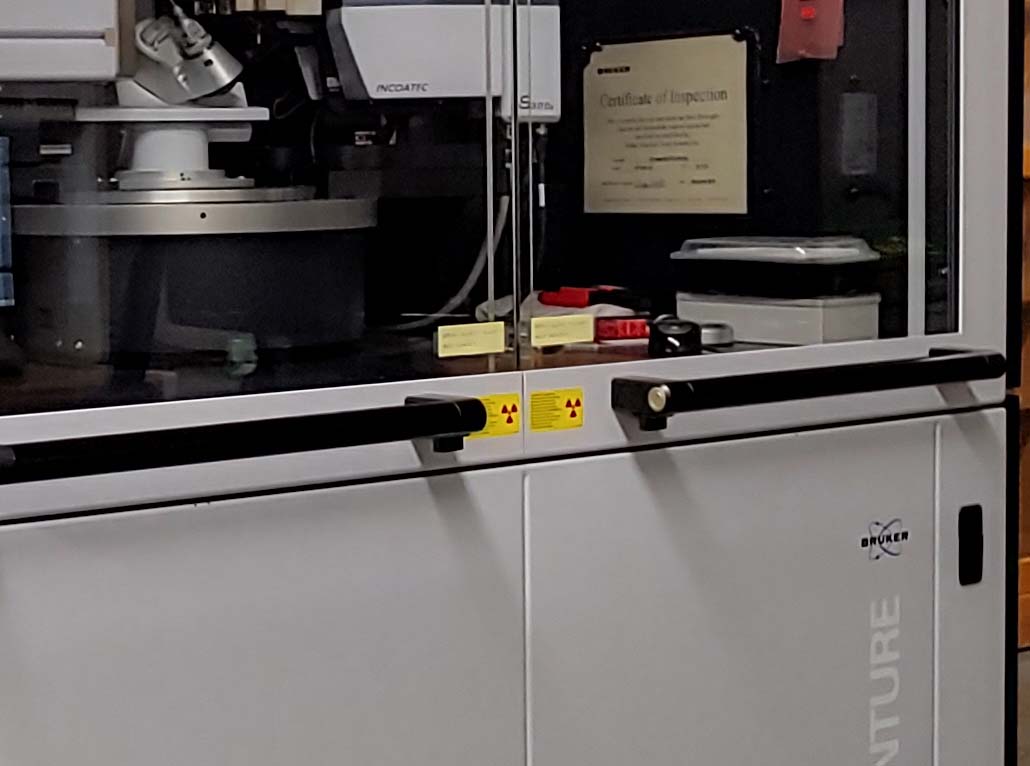
The diffractometer cabinet doors are heavy and clunky. You need to open them slowly and carefully. On the inner-end part of each handle, there is a button that needs to be pressed for the doors to open. These doors have two modes of operation - they can slide sideways or swing out. Usually they are set to slide. Please try to keep it that way.
On the right wall inside the cabinet there is a second monitor. This needs to be turned on. The on/off button is on its rear, right side near the bottom. To get the diffractometer ready for mounting a crystal, the APEX3-Server program should be running. Sometimes the window for APEX3-Server is open on one or other of the two monitors. If it is not running, start it from the icon on the main window and use the mouse to drag it to the second monitor.
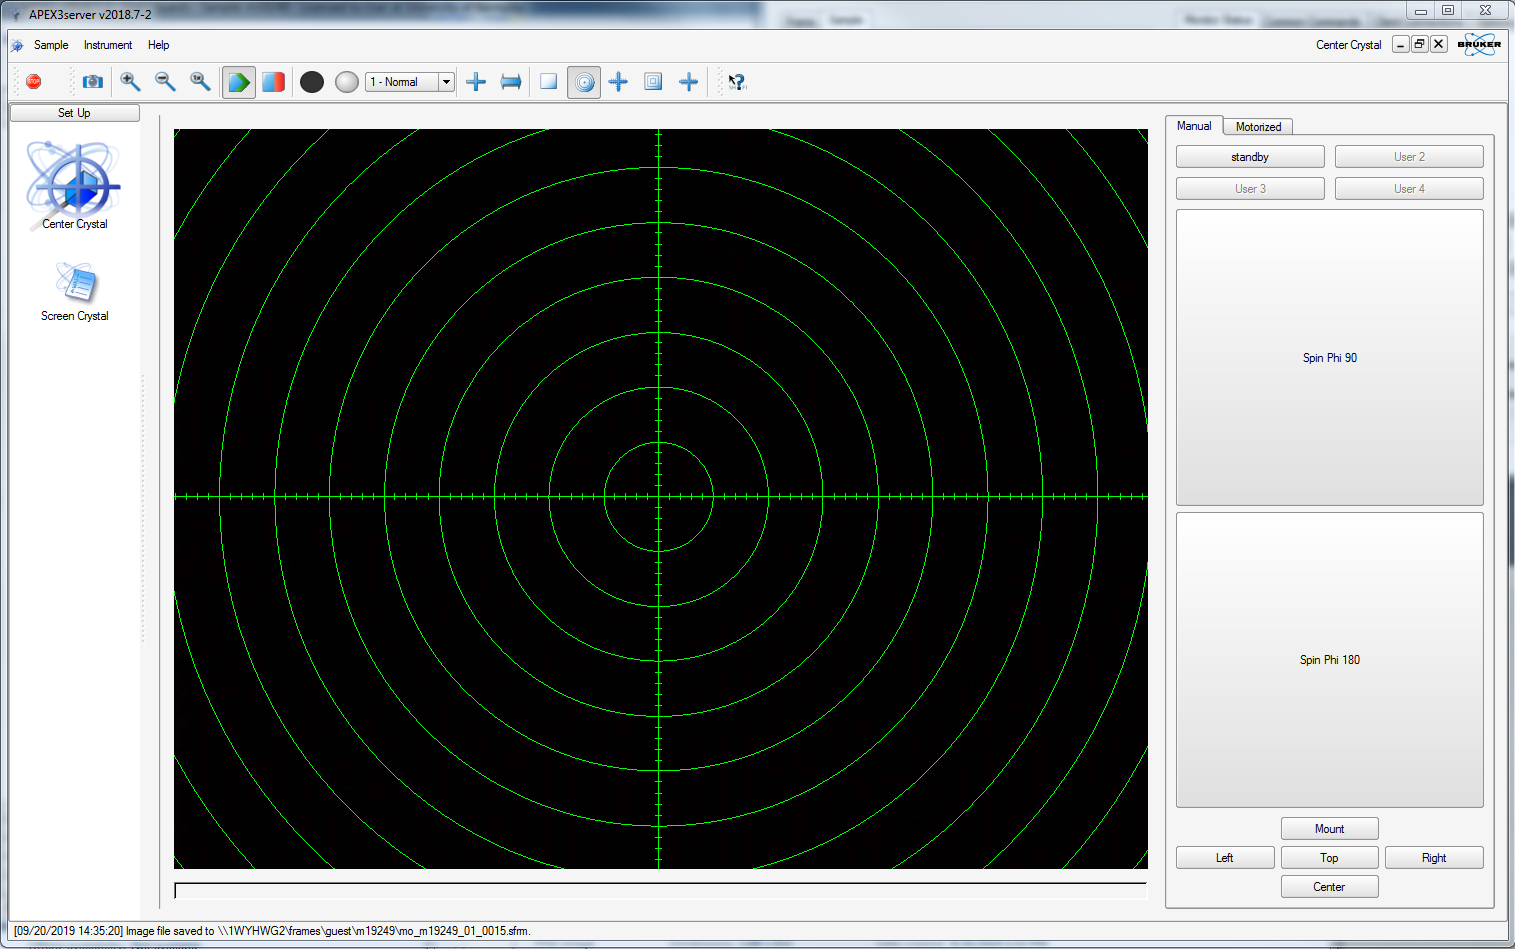
The APEX3-Server window ought to look like the above. The diffractometer needs to have its angles set to the "Center" position (bottom right corner). On this machine, never use the "Mount" button. If you do, expect to be berated massively. Always use "Center". The problem with "Mount" is it sets χ to 0°, which puts the mounting pin coaxial with the cold N2 stream. That causes the pin to shrink, which moves the crystal off its centered position. It also causes frost to grow on the goniometer head. That would be bad. Cryogenic work requires precision and close attention to detail, as does all good science.
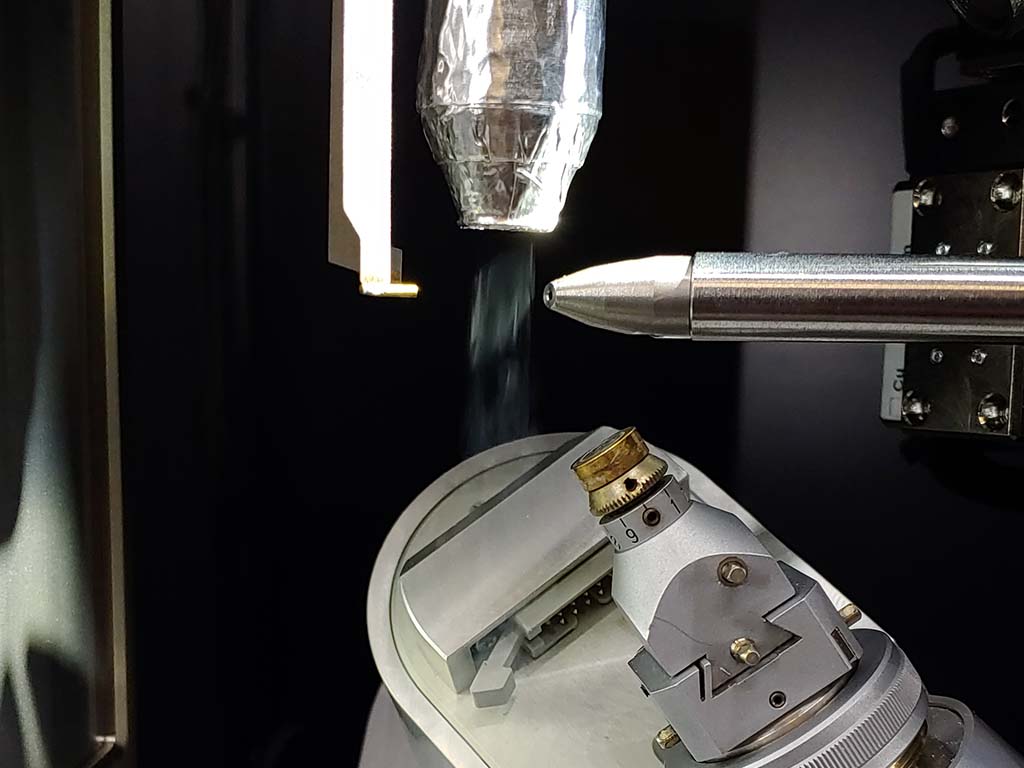
Also note that if the doors are open, the diffractometer will only move φ. All other angle movements are locked. This means that if the goniometer is not at "Center" then the doors must be closed before it will drive anywhere. For proper mounting, the goniometer should look something like this:
You are now ready to proceed to part 4.