2) Check the X-rays are on and at operating power
For the MoKα X-ray source, normal operating power is 50kV and 1.4mA.
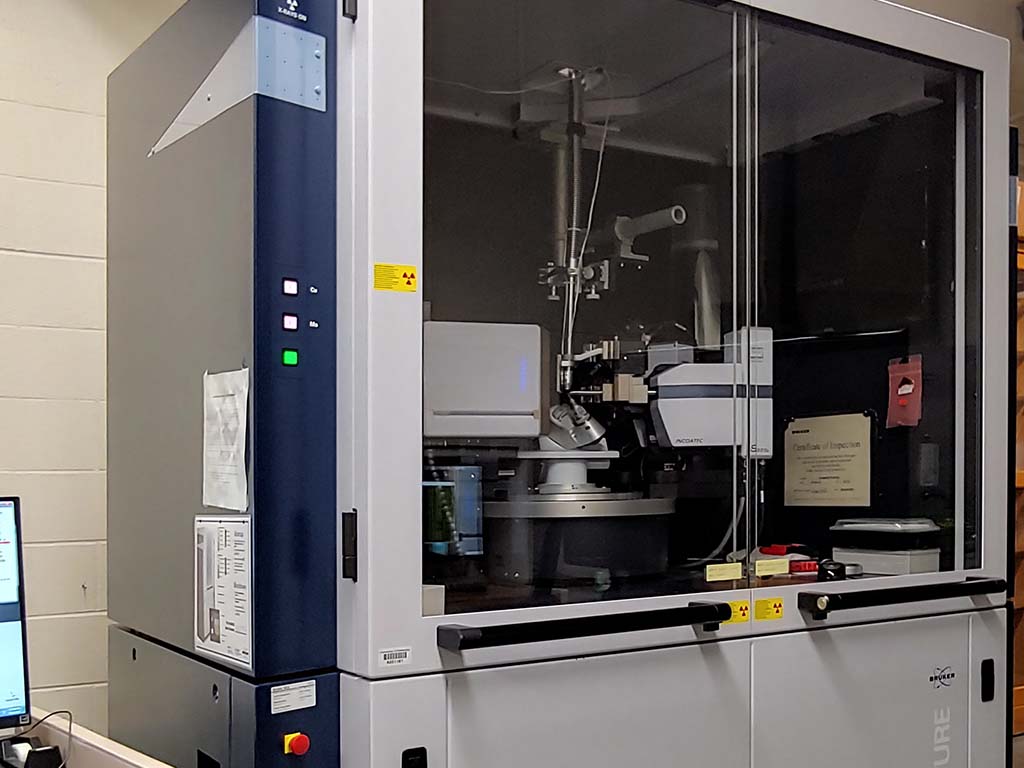
An unlikely scenario, but if the hideously tacky bright green LED 80s-style disco-light triangles on the outside of the diffractometer cabinet are off, that means the X-ray generators are also off. If that's the case, the machine should look something like this:
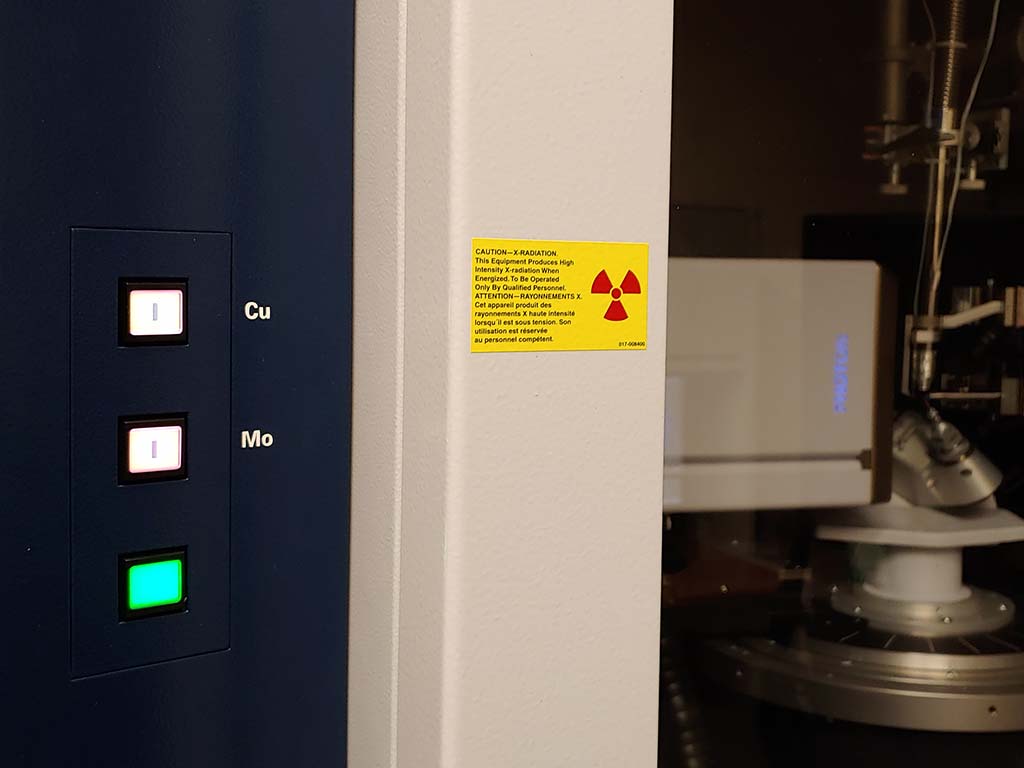
To turn the generators on, push the two buttons labelled 'Cu' and 'Mo' on the left side of the diffractometer housing. Both generators should be turned on at the same time.
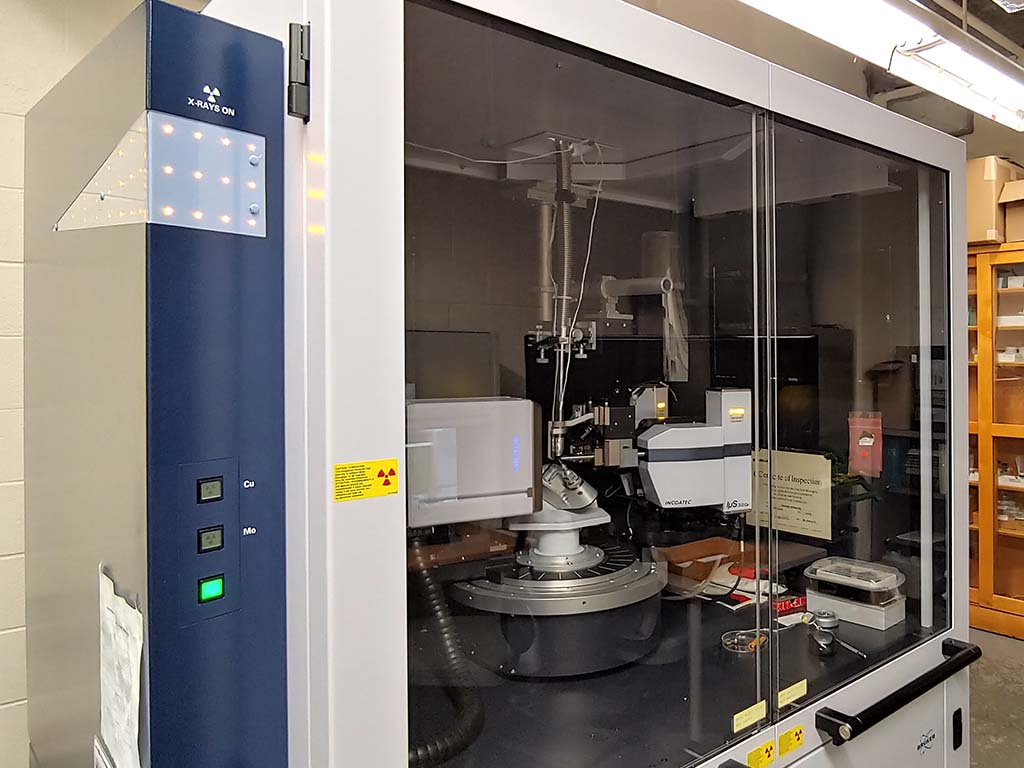
The X-ray generators will start their power-up sequence. If the generators have been off for more than a couple of days (a rare occurrence in the UK X-ray lab), this takes about two hours. Usually the power-up sequence will only take a minute or two. During power up, the two buttons first go blue, then flash the radiation trefoil symbol on and off for a few seconds. The machine will look something like this:
When the X-ray generators first come on, sometimes they crank right on up to operating power, (Mo: 50kV, 1.4mA; Cu: 50kV, 1.1mA) sometimes they go to standby power (Mo: 50kV, 0.8mA; Cu: 50kV, 0.5mA). Occasionally one will go to full power while the other goes to standby. It seems to be random. When asked, Bruker gave no useful clue as to any sort of sequence. Go figure. Since we'll be using the Mo source for this exercise, we should ensure that the Mo anode is at full power and the Cu anode is at standby. Take a look at the BIS (that's Bruker Instrument Server) window on the main control computer screen. It looks something like this:
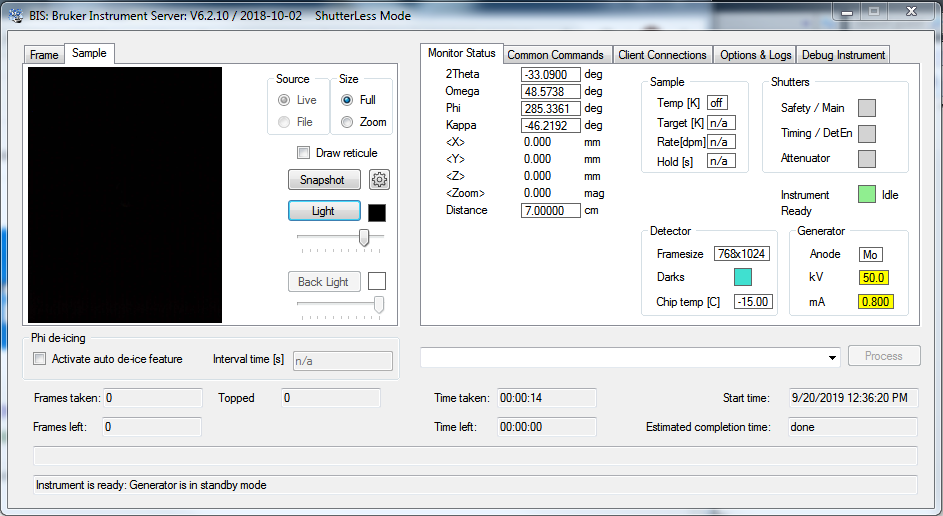
Over on the right side, BIS tells you which source is active and it gives the power setting. Here, the Mo anode is selected but the power is at standby. There is more than one way to set the power. It can be done from the APEX3 program or from the APEX3-Server program. In this exercise we'll set it from APEX3.
On the main screen, start APEX3 if it is not already running. From "Sample", choose "Reopen" (or "Open"), select "standby" (on this machine, "standby" is just a preset file made by the lab director), then click the "Collect" button (further down on the left-hand-side menu) and select "Run Experiment". Here you can change the generator power. In the example below, we set the Cu source to standby (low power) and then crank the Mo anode up to full operating power. It is wise to get in the habit of clicking "Validate" before "Execute", just to give the instrument a chance to warn you if you've accidentally entered bogus parameters. It should look something like this:
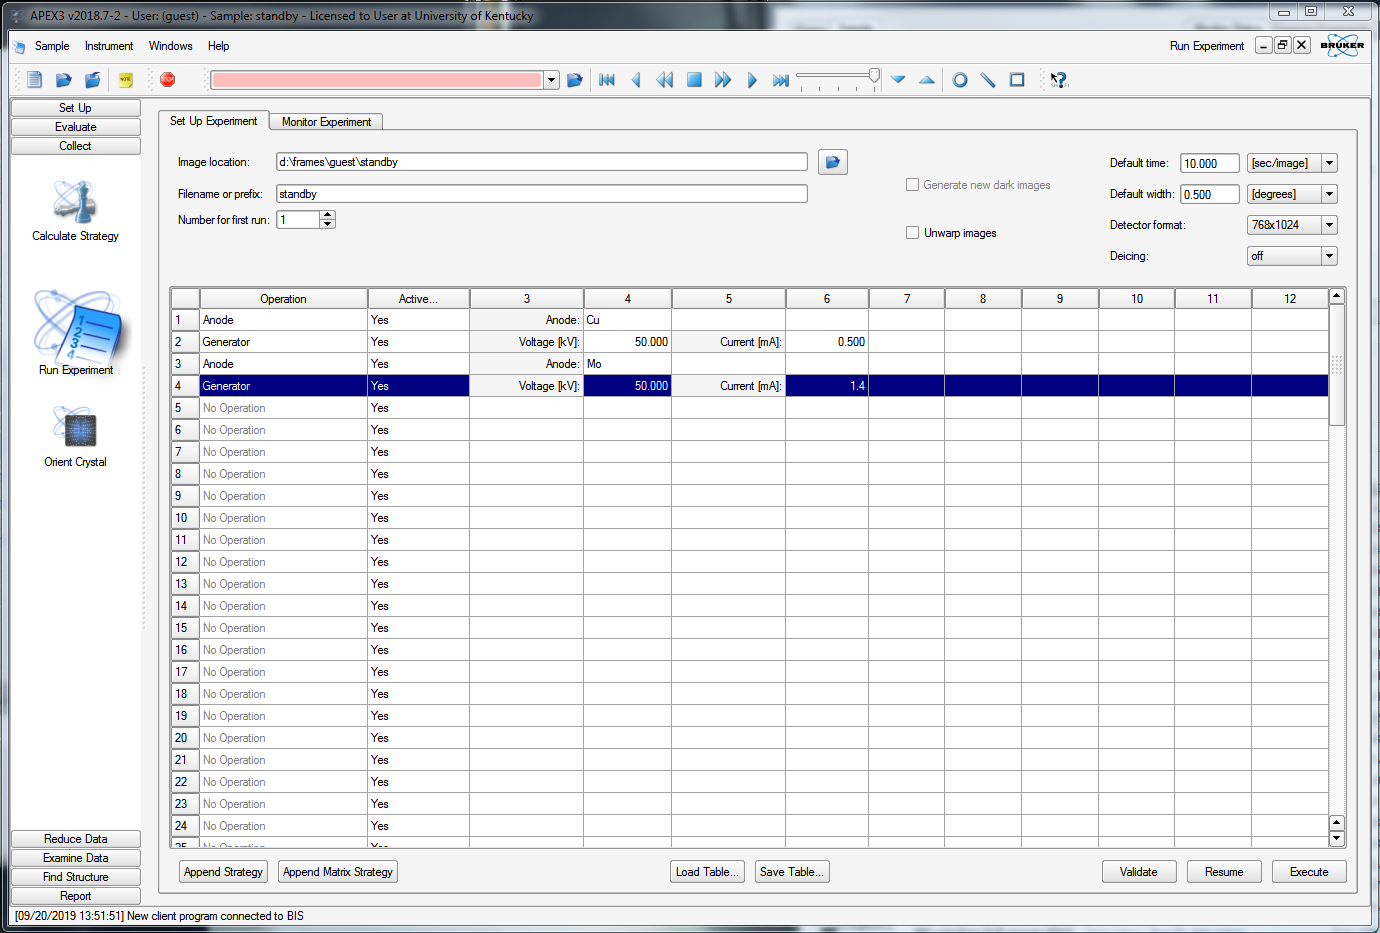
On clicking "Execute", the system sets the generators to your requested power settings. You are now ready to move on to part 3.