4) Find a suitable mounting pin
There are several different types and sizes of mounting pins available in the world. For small-molecule work in the UK X-ray Facility you need only consider the types shown below. Any mounting pin that does not have a copper shaft and a steel base should be ignored. There will usually be a few suitable mounting pins on or around the base of the main microscope, like this:
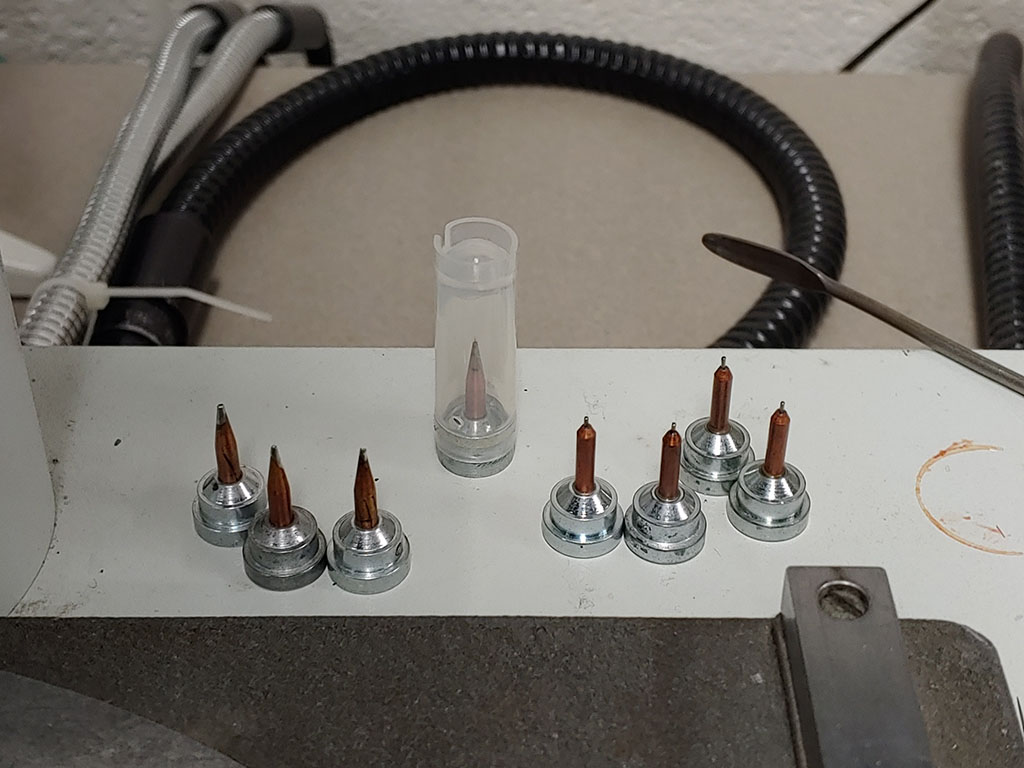
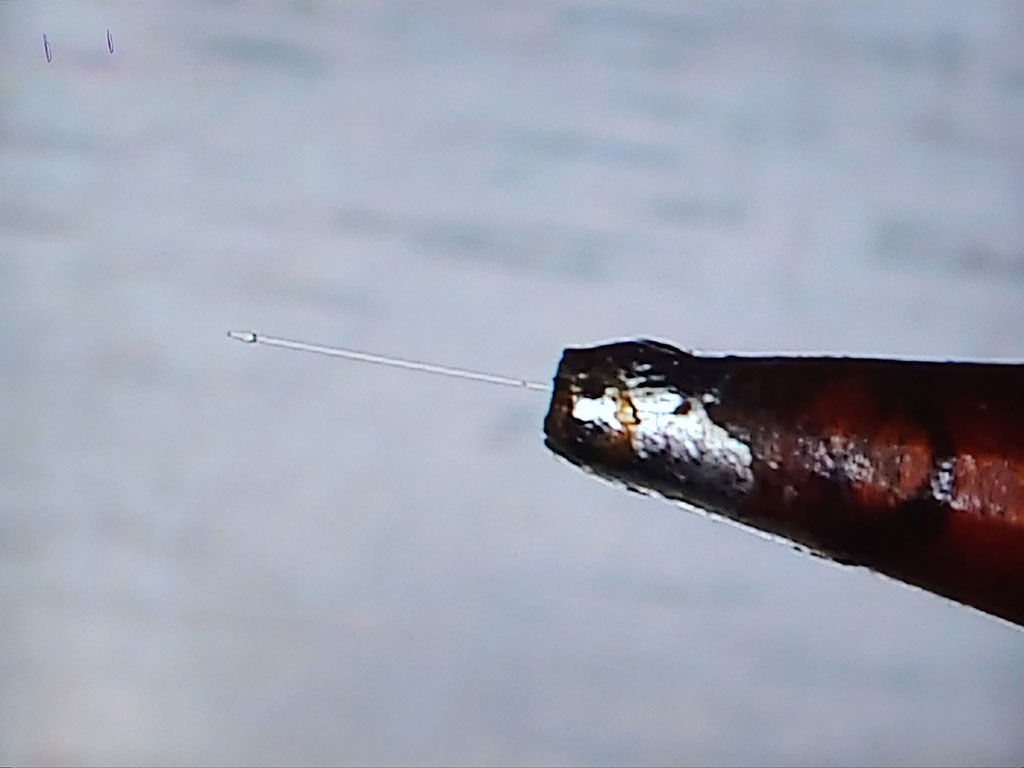
The mounting pins on the left have a glass fibre embedded in a narrow hole in the tapered end. For many years, glass fibres were the de facto standard for low-temperature data collection. The glass fibres can be quite fragile, but are easy to fix. The business end of the pin, i.e., the place where the crystal goes, looks like this (below). It is straightforward with practice and a steady hand to pick up a crystal on the tip of the glass fibre.
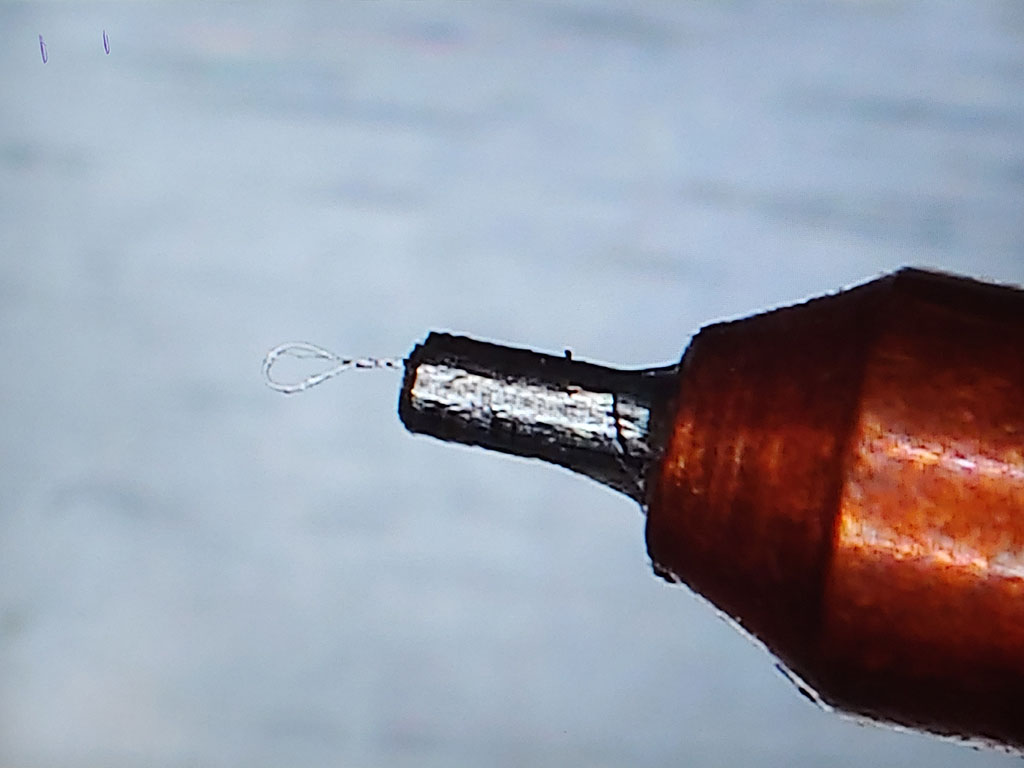
The mounting pins on the right (top photograph) have a nylon loop instead of a glass fibre. The loop is glued into a fine steel tube, which in turn is glued into a stubby copper pin. These are commercially available from Hampton Research. Since nylon is flexible, these loop mounts can be much easier for novices. They have a couple of drawbacks, however. Firstly, unless you are careful, it can be all too easy to pick up a large blob of oil along with the crystal. Large blobs of oil lead to higher-than-optimal background counts in diffraction images, so it is important to minimize oil on the mount. The second problem occurs if this type of mount is used with the Cu X-ray source. Steel is mainly iron, and Fe is a few places to the left of Cu in the periodic table, which means if it happens, by poor experiment planning or whatever, to pass into the X-ray beam, it will fluoresce in the CuKα beam (but not the MoKα beam! Br, Sb, and nearby elements fluoresce with Mo X-rays). To avoid this, the χ range needs to be restricted a little more than with the Mo source. If for any reason you need to use the Cu source (e.g., to get the absolute configuration of a light-atom compound), then seek professional help. Either way, the business end of the loop mount looks like this:
An extension of the loop-mount concept are kapton (polyimide) mounts peddled by a company called MiteGen. Some people swear by them, but they are quite expensive. For small-molecule crystals, if you have even a modicum of manual dexterity, they don't offer any real advantage over free (glass fibre) or cheaper (Hampton loops) alternatives. They can, however, offer some benefits for protein cryocrystallography, where crystals are usually mounted in some form of aqueous anti-freeze. In close up, kapton mounts look like this:
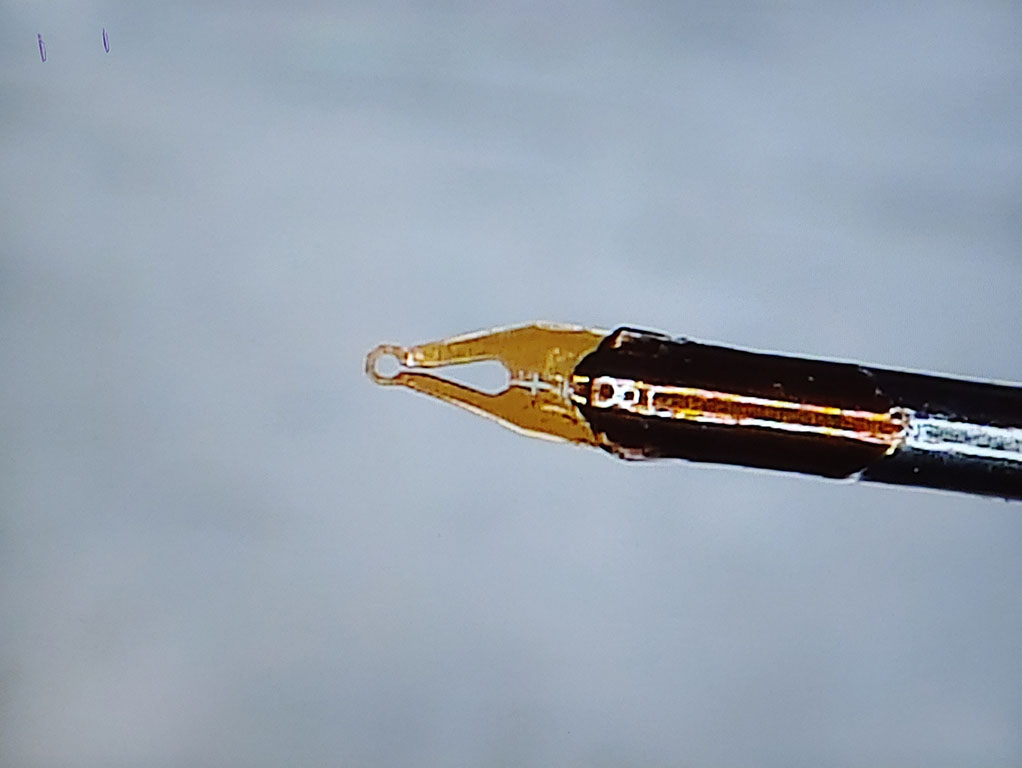
MiteGen mounts are also prone to excess oil blobbing and have a steel shaft, so as with the nylon loops, care must be taken. On the plus side, they are very reproducible and there are many different sizes, shapes, and configurations of the 'nib'. There are a few of them lying around in the X-ray lab. somewhere: they came as a giveaway at some conference or other many years ago.
Commercial mounts have the disadvantage that they are made for profit, which means you have to pay for them. Everything is a trade off in science. It is well to acquire the skills needed to forgo commercial accoutrements as far as possible. If you're interested in making glass-fibre in copper mounting pins, feel free to ask. You could also click here, which takes you to an older (no longer maintained) similar tutorial from days of yore.
It is now time to find a crystal, so proceed to part 5.