1/6) KappaCCD: Integration with Denzo
After data collection is finished your SuperGUI window should look something like this:
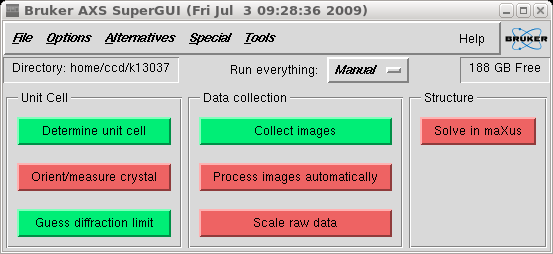
Click the "Process images automatically" button and you get the following Scan window:
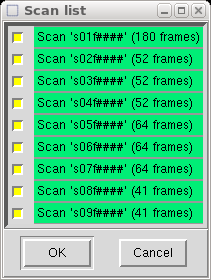
If for any reason you need to eliminate one or more scans, here is the place to do it.
Bad scans are extremely rare in this lab., so it is unlikely that you will need to
eliminate anything here. When you click "Ok" you get this:

The box above tells you where Denzo will get the cell dimensions and orientation
matrix. The default is one of the '.x' files created during the indexing run
prior to data collection. There is rarely any need to change anything here, but on
occasion it may be useful to not normalize the cell. When you are ready, or
if you don't know what any of this means, accept the default by clicking "Ok".
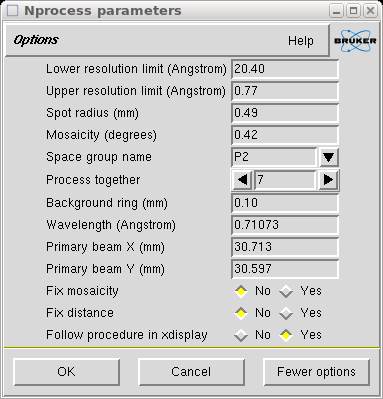
The above window gives you some information about the parameters that Denzo will use
and/or refine. The defaults are usually ok, but for crummy crystals it may help to
fix the mosaicity and/or the distance. A separate window (below) gives some information
about the crystal cell and symmetry.

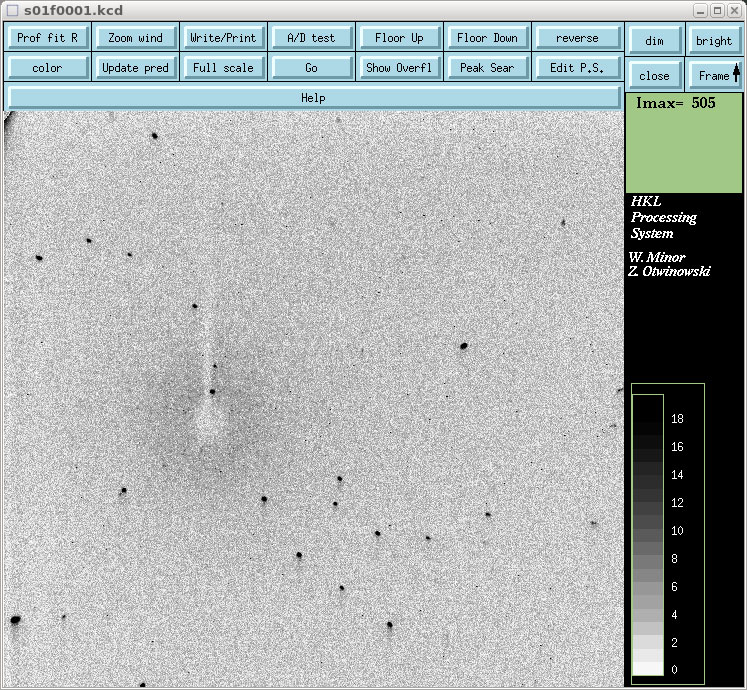
When you click "Ok" the integration starts, and puts up a window showing frame by frame
progress. It is a good idea to click the "Update pred" button so that you can watch it
to make sure that the predictions track the actual reflection positions properly.
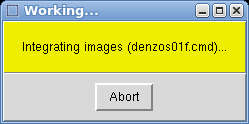
A little yellow window (below) will also appear telling you which scan is being worked
on at the moment. It also gives you the chance to abort the integration.
When the integration is finished it puts up a window showing the variation range of
some of the refined parameters.
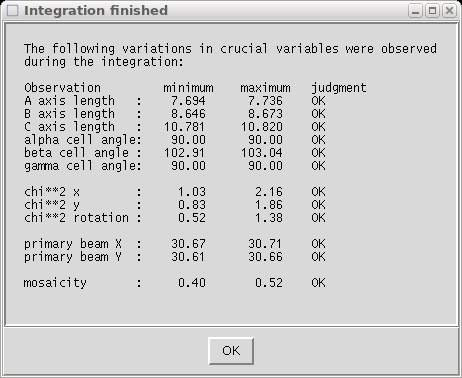
Click on "Ok" and go on to the next stage (part 2 below).
1) Extract the intensity data from the diffraction frames.
2) Run a first pass through with Scalepack.
3) Create '.sad' input files for SADABS.
4) Run SADABS separately for fast and slow scans.
5) Identify overload intensities and edit slow .hkl file.
6) Merge fast and slow scans in XPREP.
2) Run a first pass through with Scalepack.
3) Create '.sad' input files for SADABS.
4) Run SADABS separately for fast and slow scans.
5) Identify overload intensities and edit slow .hkl file.
6) Merge fast and slow scans in XPREP.