3/6) Molecule editing - XP
We pick up from the end of
part 2 of this
tutorial. You should have an xterm window (or equivalent) on your computer screen.
You may notice in the steps below that
XP is being run on a Mac from an xterm
window entitled "xterm for xprep". This is just a consequence of the way I have X11
configured on my laptop. If you have tried to run
XP on a Mac and been
frustrated by the slow speed of rotation in
proj, there is an excellent
workaround that enables
smooth
proj rotation.
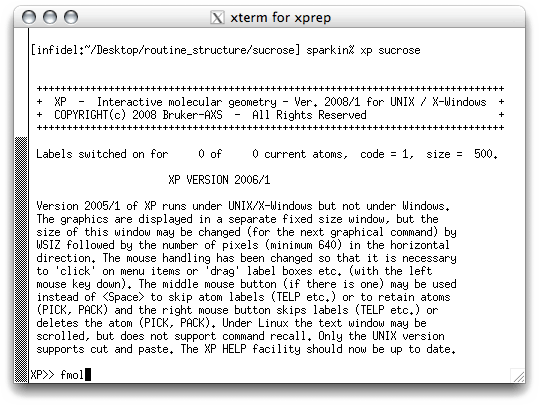
Start
XP by typing '
xp sucrose' at the prompt. You should get something
like this:
There's not much to look at here! XP needs to be told what to do. The first
thing is to build a connectivity table between all the potential atom sites (Q peaks)
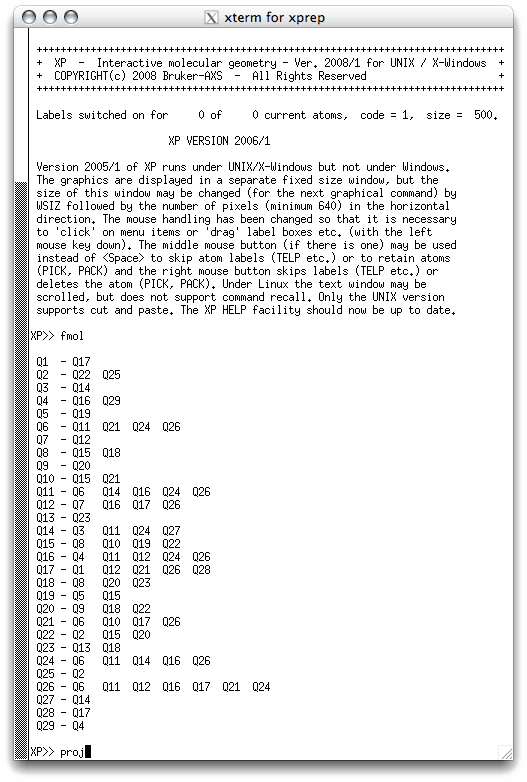
in the '.res' file. This is done with the FMOL command, which stands for
something like 'form molecule'. When you hit <return> you get this:
Again, not much to look at. At this stage you can get a list of all the potential atom
sites, along with their peak heights by using the command 'INFO'. Remember that large
peak heights generally correspond to heavier atoms (more electrons), but at this stage
there can be a lot of incorrect peaks, and some real atoms may be missing. To get a
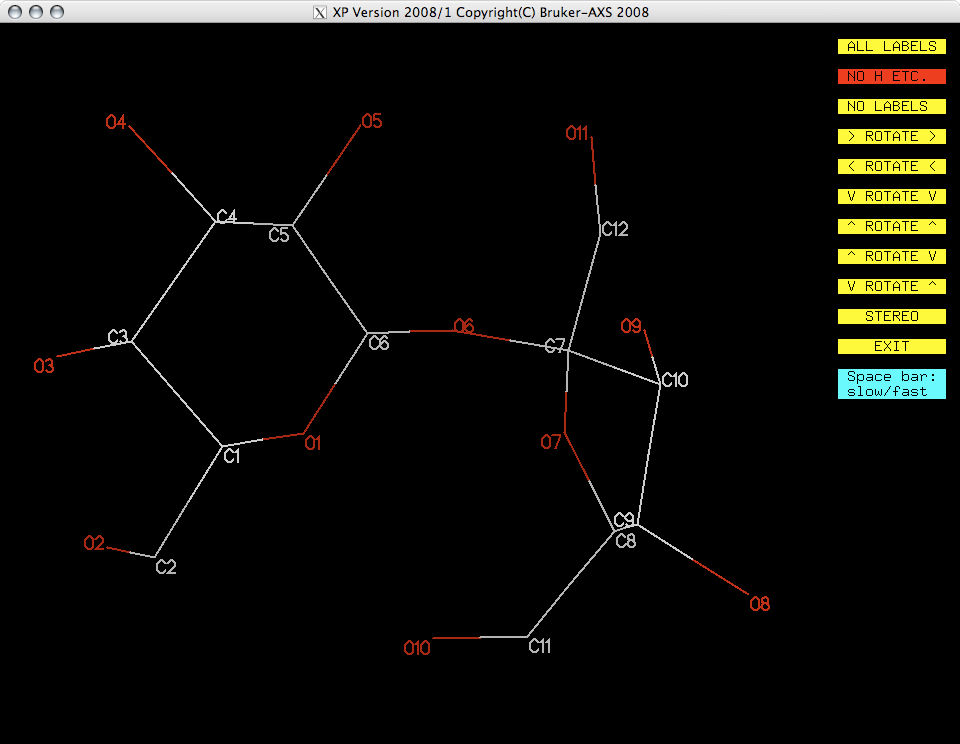
graphical view, or projection, of the structure, type 'proj' and hit
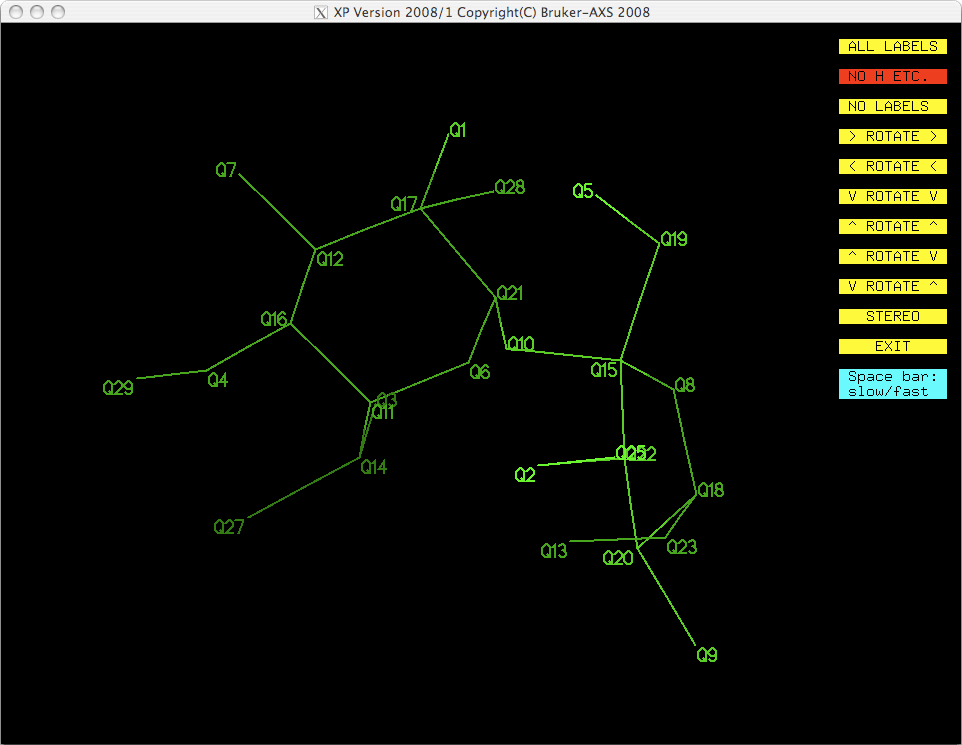
<return>. A new window appears, which looks like this:
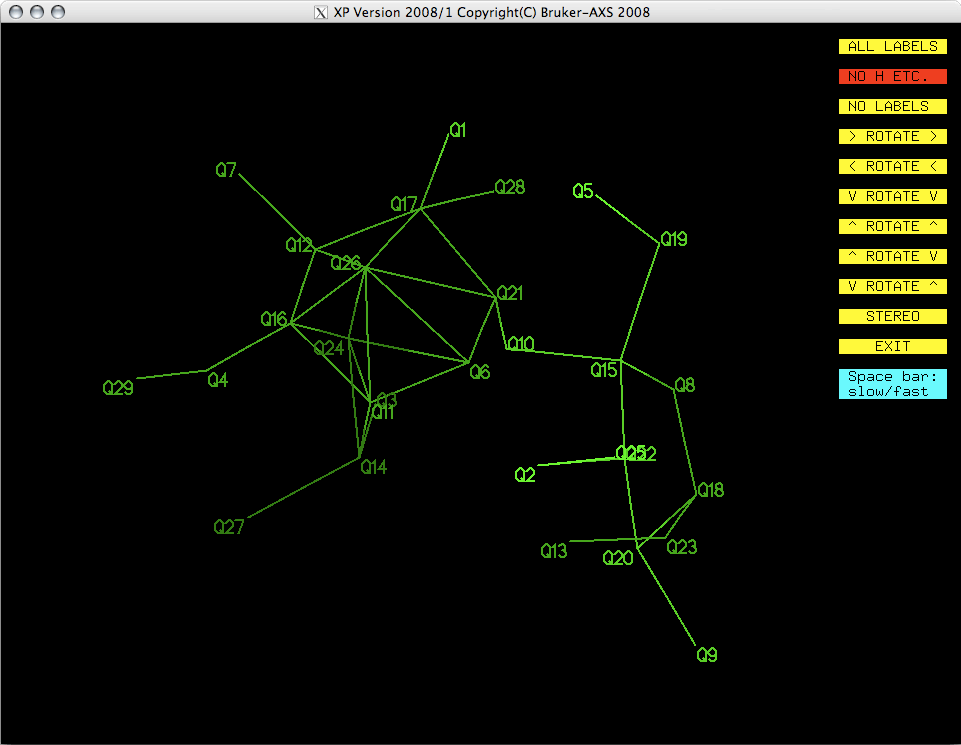
You may be able to recognize this as being vaguely molecule-like. The projection can
be rotated by clicking on the yellow buttons to get different views. As stated above,
XP is quite old, and it lacks some of the visual sophistication of more modern
programs. For example, you can't rotate the projection by dragging it with the mouse.
As you look at the projection, a few things should become clear. There are a couple
of rings, one six and one five membered. The six membered ring appears to have a couple
of spurious 'atoms' in the middle.
The initial model clearly needs to be edited to remove the incorrect features. We also
need to figure out which of the Q peaks are carbon and which are oxygen. At this stage
we are not concerned with hydrogen. Hydrogens will be found later once all the heavy
atoms are in place and a sensible numbering scheme has been applied.
There are a few ways to edit the 'molecule'. An experienced user might just look at
the '.res' file, decide that peaks Q24-Q29 are not real atoms, and simply remove them
from the '.res' file using a text editor. Generally this is fine for grossly incorrect
stuff, especially in easy structures with just a few non-hydrogen atoms. It can be done
without even using XP. Certainly it would be ok to edit this structure like that
provided you have sufficient experience, but the point of this tutorial is to introduce
some of the features of XP.
Within XP there are a couple of ways to remove false 'atoms'. To remove the two
Q peaks in the middle of the six-membered ring, for example, you could simply issue the
command 'kill q24 q26' in the XP text window. To do this you need to exit
from the graphical XP window by clicking on the yellow EXIT button. When you do
this, the graphical window does not disappear, it just becomes inactive, and transfers
control to the text window. Back in the XP text window, use the aforementioned
kill command and hit <return>.
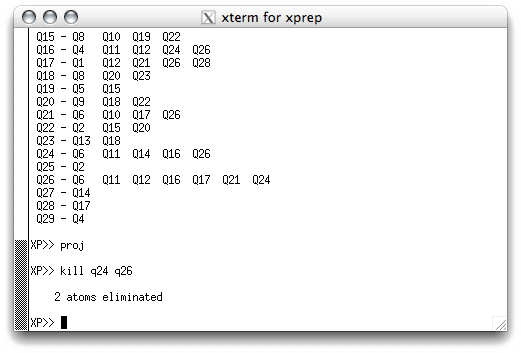
The program eliminates the two bad 'atoms', tells you so, and waits for the next
command. To see what happened, you could get a fresh projection by typing 'proj'
<return>, which gives you this:
That looks a whole lot better! You could also KILL the other spurious Q peaks,
but there is graphical feature of XP that is very powerful for editing crystal
structure models, and that is the PICK command. We'll use PICK in a
moment, but first we will try to optimize the orientation of the molecule, as this
makes it easier to see everything at once, and that usually makes peak picking easier.
You could manually spin the model using the yellow buttons, but we will attempt a short
cut. It so happens that a view perpendicular to the mean plane through a
molecule is very often close to the best orientation for seeing
everything. The XP command to find this mean plane is MPLN. So, we EXIT
from the graphical window, type 'mpln' <return> in the text window, and
type 'pick' <return> to bring up the interactive molecule editor.
Note that the mpln command made XP write a bunch of stuff to the text
window. This output gives the perpendicular distance of each of the 'atom' sites to
the mean plane. At this stage, this is not especially useful information. A variant of
the mpln command, mpln/n will calculate the mean plane and suppress the
output of these numbers. Either way, on typing 'pick' <return> you get the
following:
As you can see in the picture above, Q29 is flashing on and off, which means it is
active. PICK starts from the bottom of the list of Q peaks and gives
you the chance to eliminate, keep, or rename them one by one. Remember, the larger
the Q number, the smaller the peak. These weak peaks are more likely to be spurious.
The top yellow band gives you some options: the return key <CR> will erase it,
<space> will bypass it and move on to the next atom etc. If you make a
mistake you can step backwards using the <backspace> (<delete> on a Mac).
The bottom yellow band tells you distances between the flashing Q peak and its
neighbours, which is often useful when deciding if a peak corresponds to a real atom.
If you have a good idea of what the structure is, you can even start to assign atom
types here. For this example we will wait until the junk has been removed from the
molecule before assigning atom types.
At this stage you may end up erasing a real atom. Do not worry about this, real
atoms always come back when the model is refined, whereas false 'atoms'
don't. Once you have edited the molecule using pick, you can get back to the text
window using the / key.
Back in the text window, the first thing to do is to type FMOL again, which
registers all the kill and pick changes. For this structure, we now have
a model with all the non-H atom sites identified. The next stage is to assign atom
types.
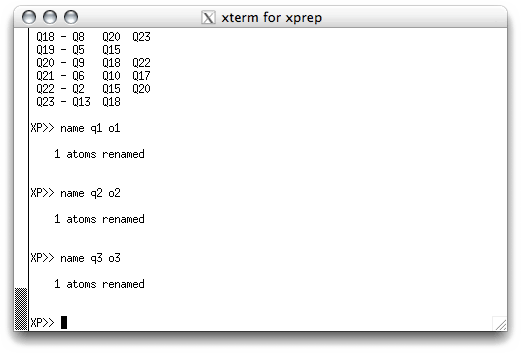
As with removing spurious Q peaks, atom assignment can either be done in the text
window, or interactively using pick. Remember that SHELXS assigned the
Q labels according to peak height, with the smaller-number Qs being higher peaks. In
a structure like sucrose (C12H22O11) we can be pretty
sure that the smaller-number Qs will tend to be oxygen and the larger-number Qs will
tend to be carbon. In the text window we could issue name commands, like this:
Unfortunately this has to be done one name at a time, which can be a lot of
typing. If you were to assign the top eleven Q peaks as oxygen in this way, you could
always check it by looking at a projection (proj). You should get something like
this:
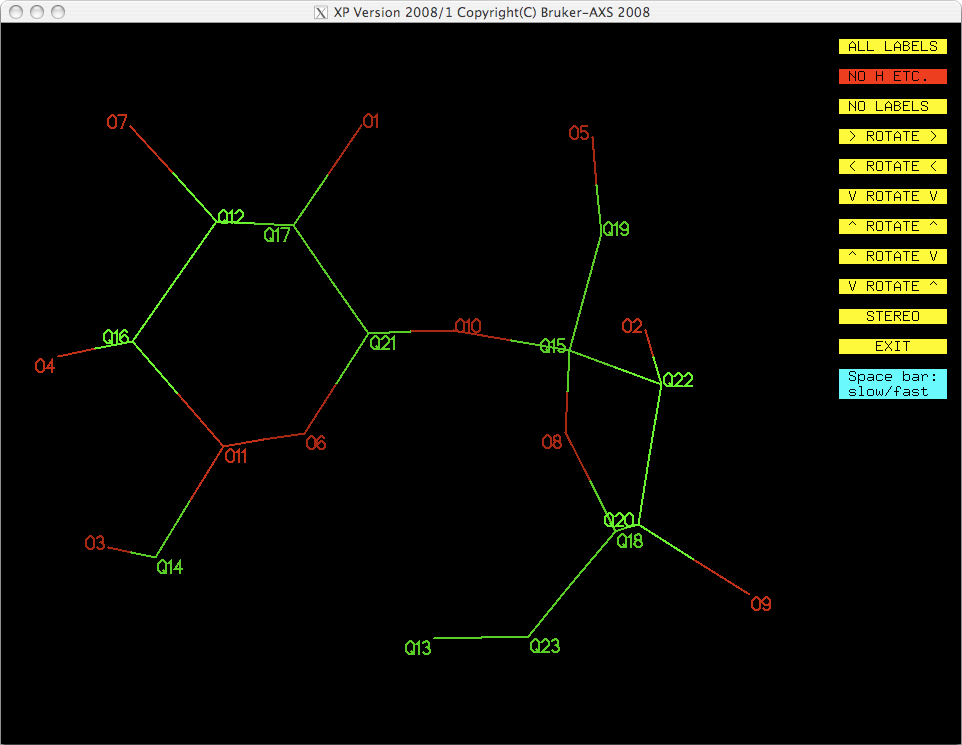
At first glance this looks ok, but it is not entirely correct. By only looking at Q
peak height you do not get to use all your chemical knowledge and insight. See the
atom labelled O11 in the above image. Any chemist can tell that 'O11' cannot be an
oxygen! The next highest peak from the SHELXS solution, Q12, is clearly also
not an oxygen, but it looks as though Q13 could be. For this reason, it is probably
best to use pick to assign atom types, especially if the molecule is simple
and well known to you, as sucrose should be.
For the next step in this molecular editing process there's a little less hand-holding.
You need to EXIT from the graphical window, use pick again and work through the
whole molecule assigning atom types. Once you have done this, exit from pick
(/ key), type fmol in the text window and get a fresh projection (proj).
You should have something like this:
You now have a model with all the non-H atoms identified correctly. One remaining
problem is that the numbering scheme does not make much sense. The atom numbers are
still ordered in terms of peak heights from the original SHELXS solution. You
need to figure out a sensible numbering scheme and apply it using another pass through
with pick. Unfortunately, for anything but the simplest structures, it is
difficult to come up with a sensible numbering scheme on the fly, especially for a
novice structure solver. The best strategy is to draw the molecule on paper and figure
out a sensible numbering scheme. Even seasoned crystallographers who have completed
hundreds or thousands of structures do this. In the present case, you might draw
something like this:
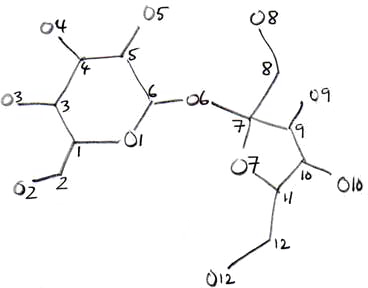
The above is just an example, and the sketch does not have to be very good. If you can
think of a better numbering scheme, go ahead and use your own. Some types of molecules
(e.g. steroids, porphyrins etc.) have well-defined numbering schemes, and
if this is the case you should at least try to follow the accepted convention. With
others you have a bit more freedom, but if you work with a lot of similar structures
it helps to try and number them in a consistent way. With your well-thought out
numbering scheme in hand you can use pick to re-number all your atoms. After
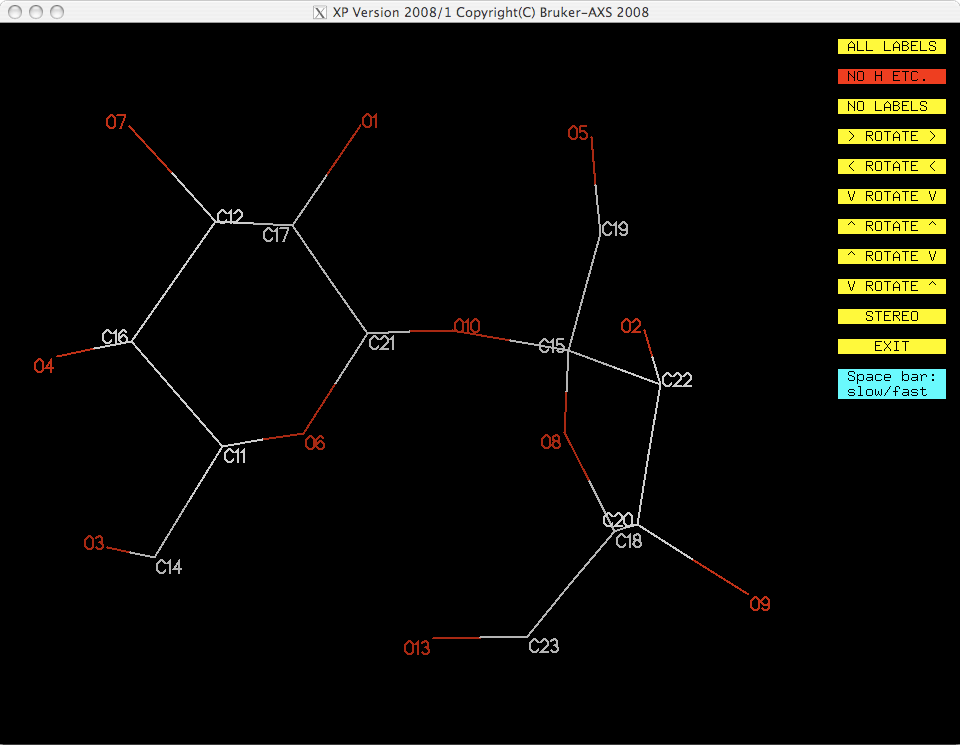
this round of pick you should get a projection that looks something like
this:
We are not quite finished with this stage of the structure determination yet. Even
though the numbering scheme is reasonable, the actual order of the atoms in the atom
list is still the same as it was in the '.res' file created by SHELXS. You can
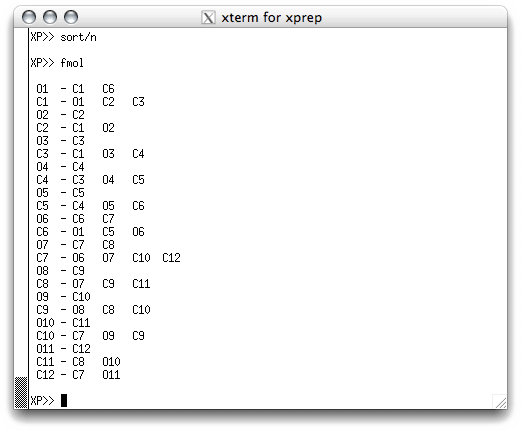
see this if you EXIT from proj and type fmol in the text window:
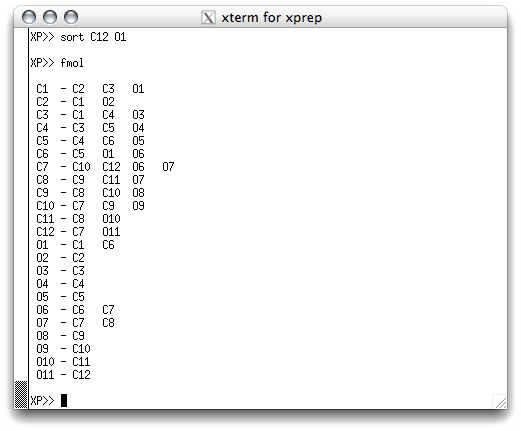
The solution to this problem is to sort the atoms. They can be sorted
individually, all at once or in groups. One convenient way of sorting for most
structures is to use numerical order. You can do this using 'sort/n' in the
text window. If you do this and then type fmol again, you get this:
An alternative might be to sort in terms of atom types, like this:
The best sort order will vary from structure to structure, especially if it is not a
routine job. Structures with disorder, for example, require careful attention
to the order in which the atoms are sorted. Such details do not concern us yet, as
this is a simple structure. Nevertheless, it is wise to get in the habit of keeping
your structure models logical and consistent. This is especially true if you expect to
get help from a guru if you get stuck.
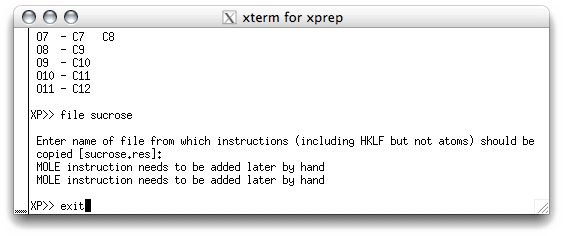
The model is now complete as far as non-hydrogen atoms are concerned. It needs to be
saved as a fresh '.ins' file so that it can be refined. Refinement is done in stages
using yet another program, SHELXL. To create a new '.ins' file that contains the
model, use the command file in the XP text window, like this:
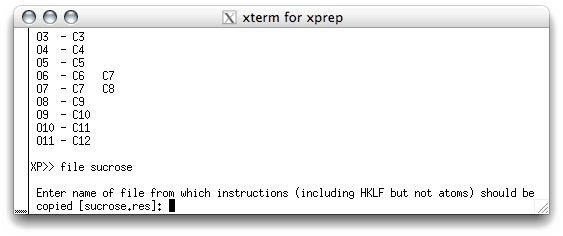
XP needs to know the name of the file that contains the rest of the instructions
for the new '.ins' file. This is usually the previous '.res' file, and the program is
smart enough to suggest this as the default. When you hit <return> you are sent
back to the XP prompt so that you can exit the program and return to the
command line.
You now have a new sucrose.ins file that has overwritten the old version.
This will be used for least-squares refinement using SHELXL.