1) Extract the intensity data from the diffraction frames.
In the Kappa data collection "how-to", the last thing you did was to click the "Collect data" button in the Supergui window. The machine then went on to collect all the data scans you specified. After collecting all those diffraction images the machine stopped and left a window like this on the Linux box:
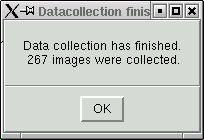
This machine is very reliable, so it is a reasonable assumption that everything went well. Click "OK" and this window will disappear leaving the "Collect" window, like this:
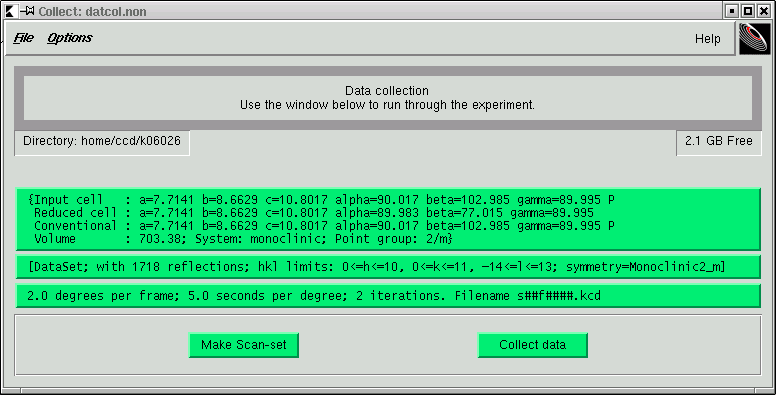
If you don't see this it may be hiding behind one of the other windows. To proceed you need to Quit the Collect program - this is the last option in the "File" menu. The program then asks whether you want to save, as shown here:
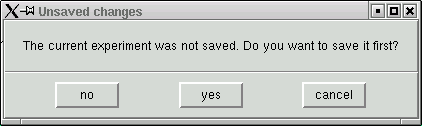
Do the obvious thing - click the "yes" button and go back to the "Supergui" window.
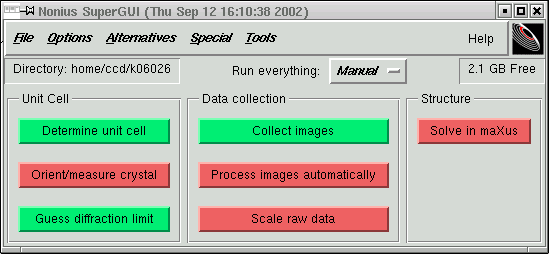
Notice that the "Collect images" button is now green - this means that we have performed this task. The next red button is "Process images automatically", which is what we want to do so click this button ...
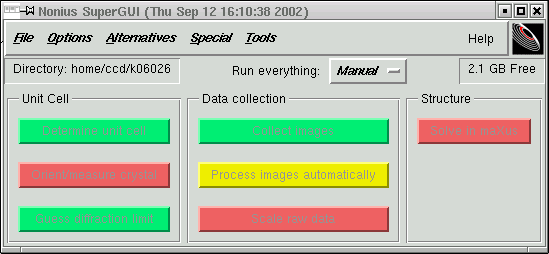
The button goes yellow indicating that this is the part of the procedure that we are performing now and a small window should appear ...

... that has a list of the scans you collected from your crystal. If for any reason you feel the need to throw out any of your scans you can do it here. Can you think of any reason to discard any of your scans ?
When you are happy, click "OK" to bring up the following window:
Normally there is no reason to change anything here, so click "OK". On occasion it may prove useful to check "No" on the "Should unit cell be normalized" option, but if you don't know why you may want to do this then don't do it.
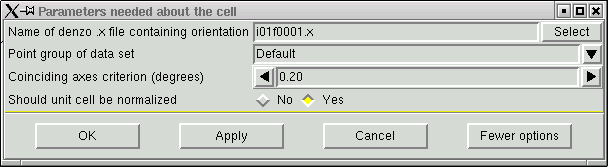
You should now see two new windows appear. The first of which ...

contains cell dimensions that the data integration program will use, while the second:
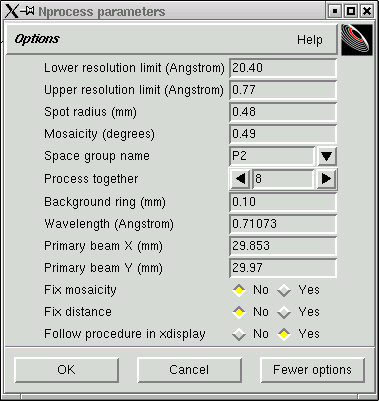
Allows you to control some of the parameters used in extracting the intensity data from the frames. As usual the default parameters are usually pretty good so you will not normally need to change anything. In fairly rare circumstances (crummy crystal, lousy mosaicity, e.g. > 2°) it can help to check "yes" to the "Fix mosaicity" option, but in that case you are probably going to need professional help anyway.
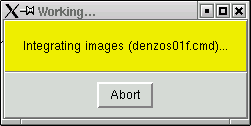
When you are happy, click "OK" and after a short pause, two windows appear. One is small, yellow, self-explanatory and looks like this:
The other is large and shows the current frame of data that is being processed. It should look something like this:
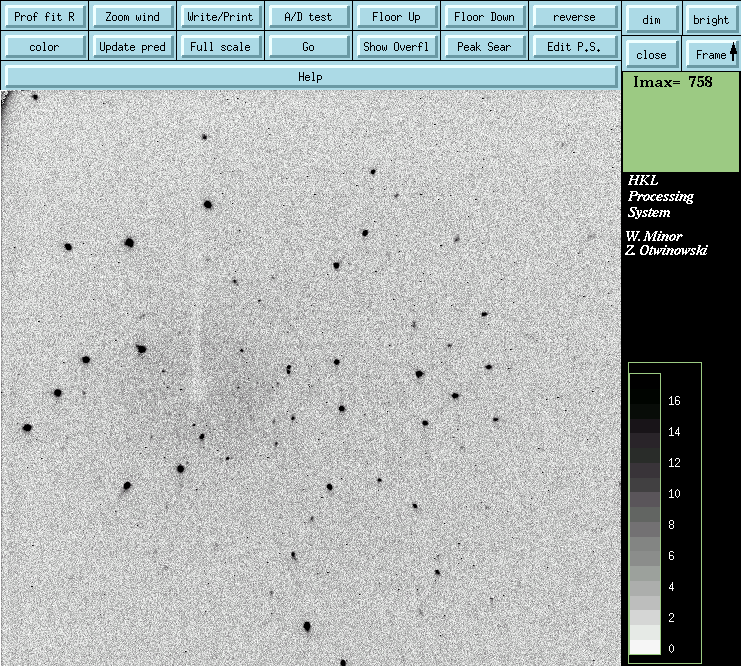
There are a bunch of clickable buttons on this window, some are useful and some are not so useful. It is often a good idea to click the "Update pred" button. This will display predicted reflection positions in addition to the actual data. In this way you can see whether the program is tracking your data properly from frame to frame. It should look something like this:
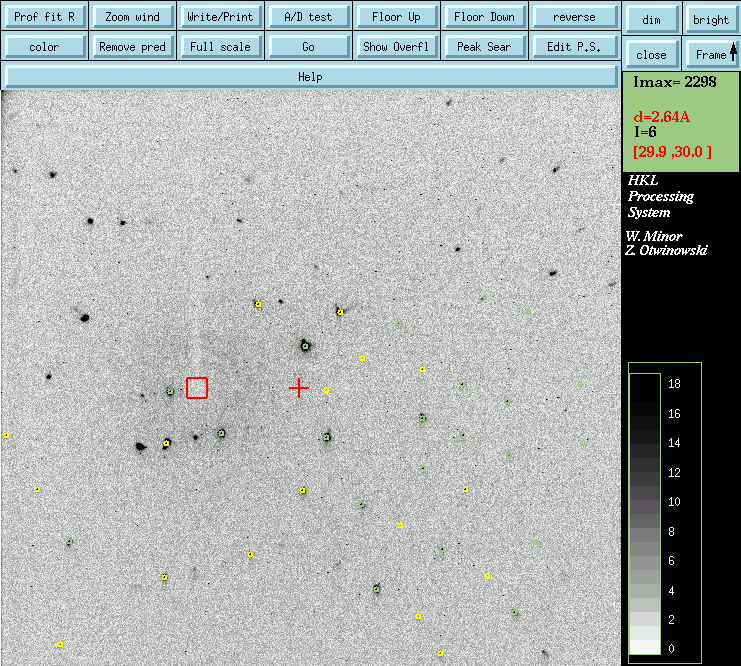
Superimposed on the diffraction images are a red cross (indicating the centre of the frame), a red square (this should be centred over the shadow of the beam stop) and a bunch of small coloured circles. Green circles indicate reflections that are wholly within that particular frame. Yellow circles indicate reflections that straddle two frames. There may also be red circles, which indicate reflections that for whatever reason have been deemed to be bad. Sometimes there are no green circles. All this means is that all the reflections are partial. Do not worry about this - the parts will be recombined later.
The program that actually does the data extraction and integration is called "DENZO". As it runs it optimizes various parameters from frame to frame, and if all goes well you should end up with something like this.
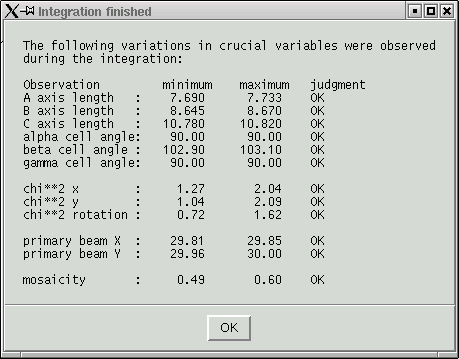
The ranges over which the parameters vary from frame to frame should be small. This crystal has all "OK" judgments, but more often there are a few "variable" or even "high" judgments. Do not worry too much about this. On occasion, perfectly good data can result from crystals that have lousy "judgments".
All the useful diffraction information has been extracted from the raw image frames, i.e. files with names like this "s02f0108.kcd" and placed in a more compact form in a series of frames with names like "s02f0108.x", and it is these "x" files that will be used in the next stage of data reduction.
Click on the "OK" button and you will be back at the Supergui window.
Go on to Kappa data scaling and merging
Go back to the main Kappa data processing menu
Return to the main Tutorials page or to the main X-Ray Lab page