2) Assign a space group
The first step to actually solving a crystal structure once you have properly scaled and merged your dataset is to assign a space group. In order to do this you will have to read your data into the maXus system.
From the maXus menu:

You need to click "File" and choose the option "import cif", which will then present you with the following:
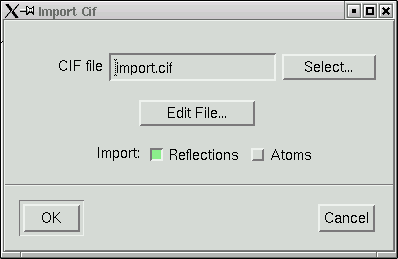
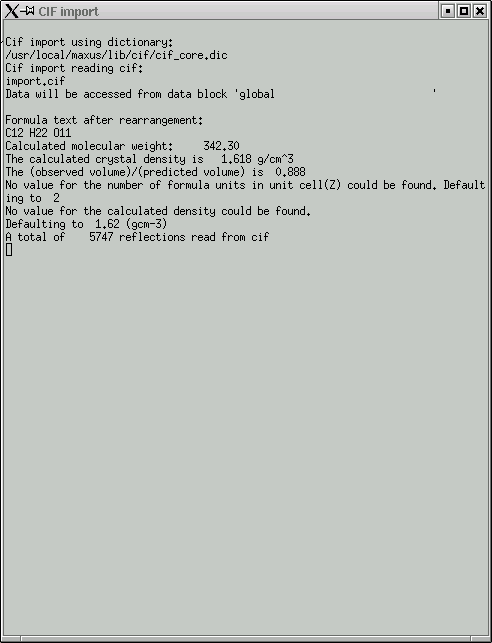
The file named "import.cif" contains your data in an appropriate format to be read by the maXus programs. Click "OK" and your data will be read in. It even gives you a window showing the progress of the read operation.

Once the data has been read in, you get this window ...
... and this window.
Click "OK" and you get the main menu back, i.e.
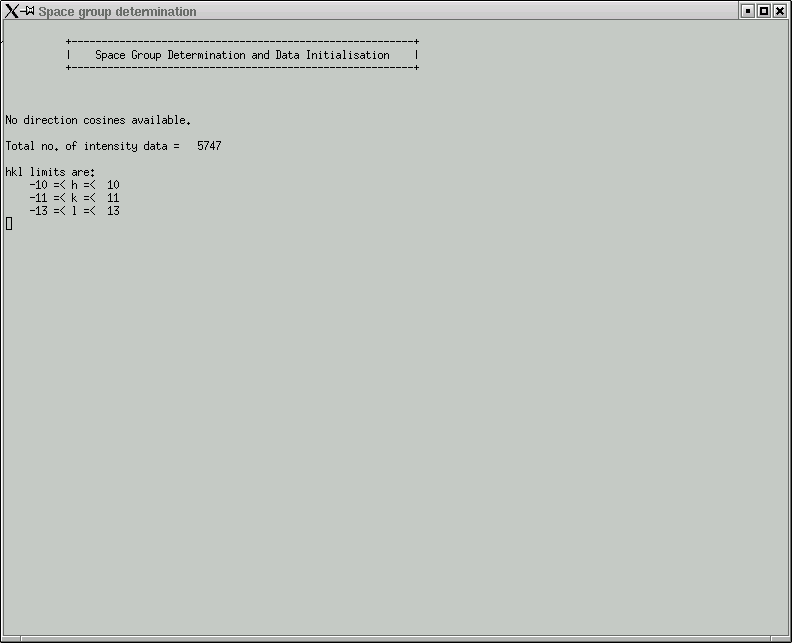
The next step along in the maXus menu is "Auto", which would attempt to do the whole thing for you. Where's the fun in that ? Instead click "Init" and from the sub-menu choose the option to determine the spacegroup. This should then present you with:
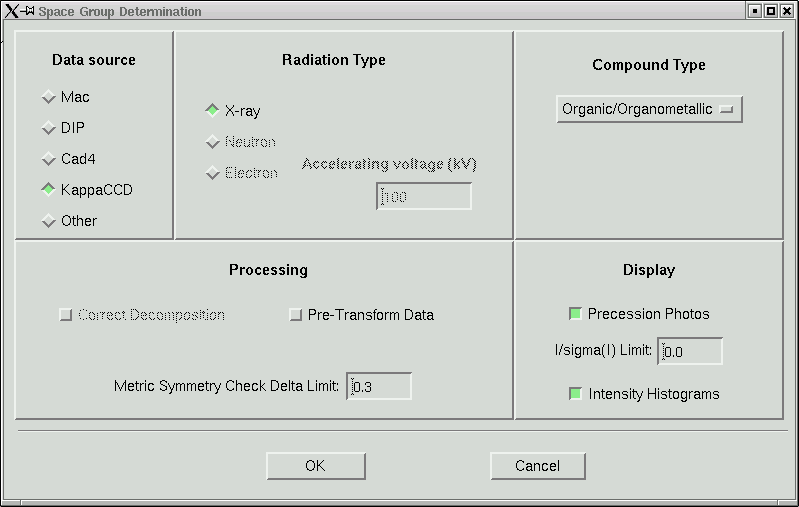
In this laboratory it is unlikely that you will need to change anything here, so click "OK" to start the space group determination routine. Some things are written to the active window:
The program will now lead you through the job at hand. The first question asks whether to try to attempt to eliminate contributions from x-rays that happen to be twice the frequency of the Kα line that you expect. Remember, monochromators are not perfect, and as a consequence of Bragg's Law, the (2h,2k,2l) reflection for λ/2 x-rays occurs at the same place as reflection (h,k,l) for wavelength λ.
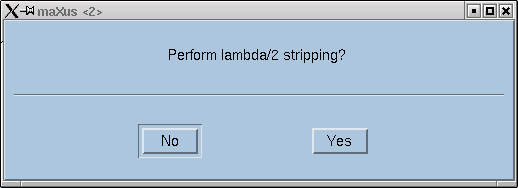
It is fairly fast so you might as well click "Yes". Either way it hardly makes any difference for ordinary structures. You then get a few statistics:
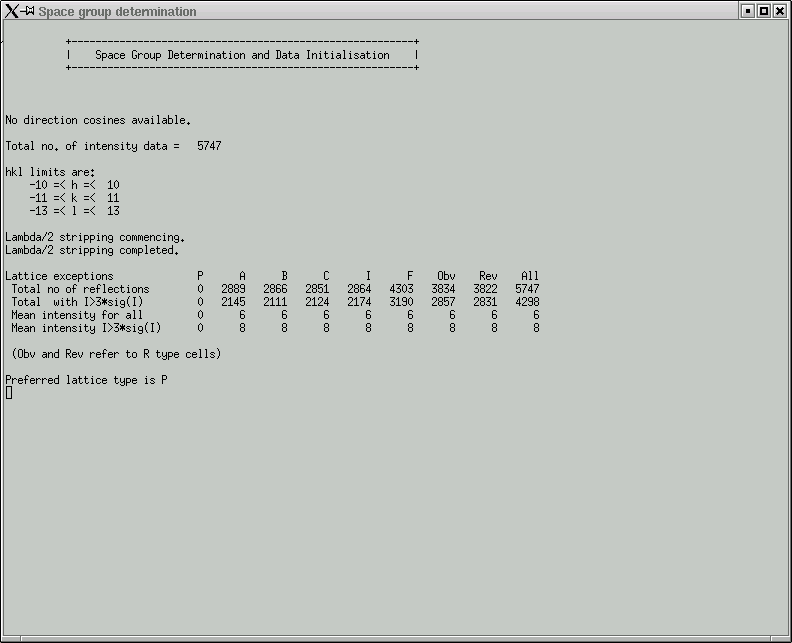
Here you are expected to confirm lattice centering conditions.
Remember that it is always possible to fit a primitive (P) lattice through a set of regularly spaced points in 3D, so the "P" column should be all zero (i.e. no exceptions to the rule). If your lattice happens to be body-centered (for example), then you will likely see this indicated by comparatively low numbers in the table above for the "I" column, and similarly for the other centering conditions if they apply. The "Total no of reflections" for these (A,B,C,I) should be about half that of the "All" column. For "F" centering it should be about three-quarters of the "All" value, and for "Obv" and "Rev" it would be about two-thirds. In the next row, the numbers should be a bit smaller, but look to see if any of the centering conditions are much smaller - this could indicate possible centering. Also look at the mean intensity statistics on rows 3 and 4. Lattice centering conditions would lead to very small numbers here.
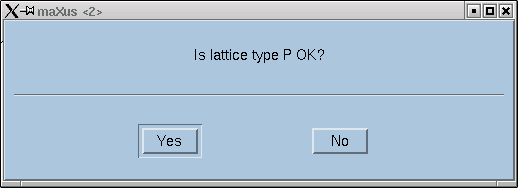
The program usually does a good job of deciding. Click "OK" and you get a whole bunch more statistics, similar to this:
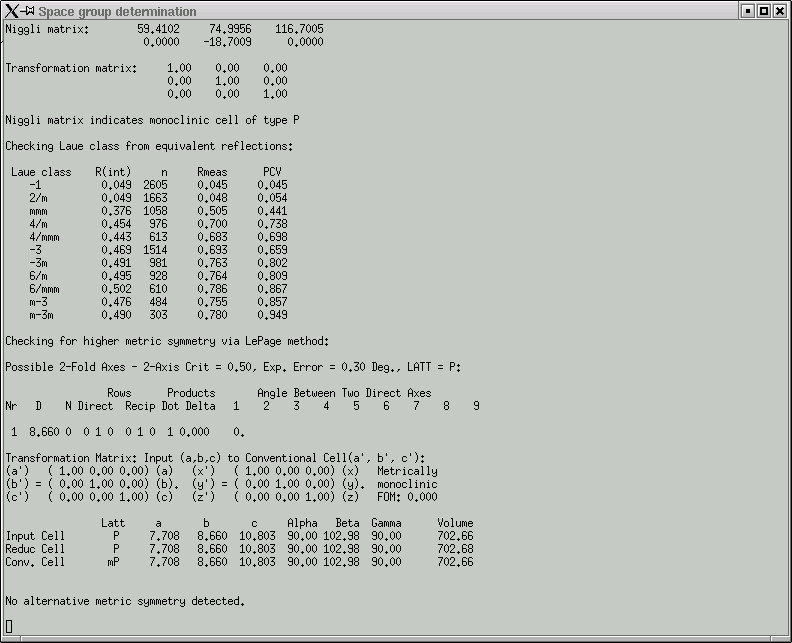
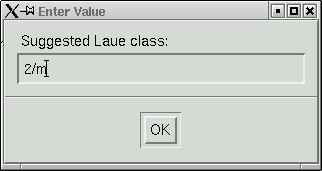
Here you are expected to confirm (or change as you see fit) the Laue group. This particular crystal is monoclinic, so the Laue group has to be 2/m. One way to read the table in this window is to look down the "R(int)" column and find the place where there is a clear jump in R(int) values. The Laue group is very likely to be one for the row immediately before where the jump occurs. In the above example this clearly indicates 2/m, and the program even suggests this.
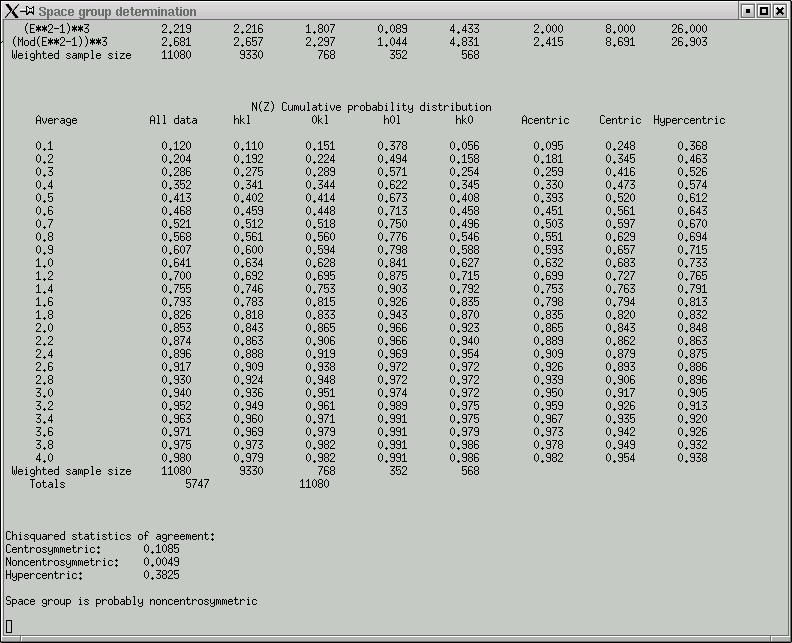
Click "OK" and you get the following screen full of statistics:
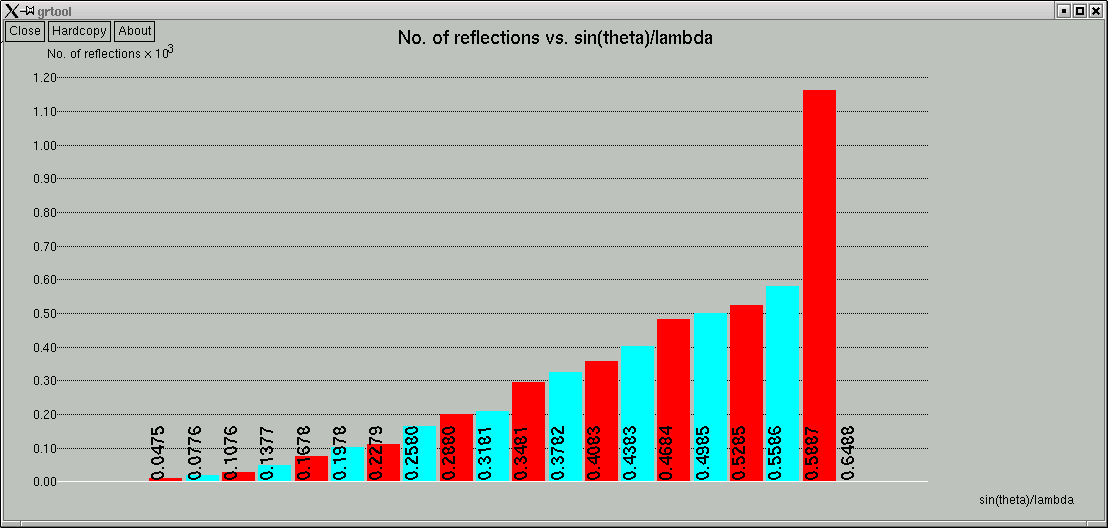
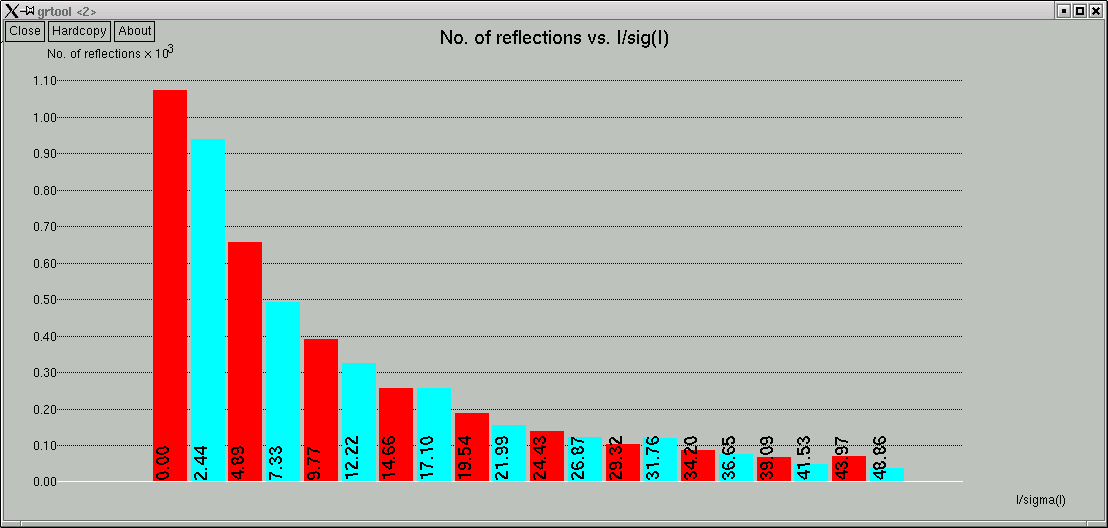
rapidly followed by a bunch of graphical data, viz.
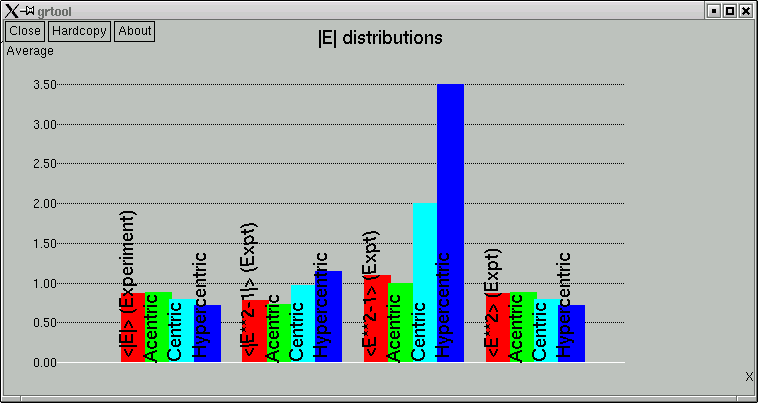
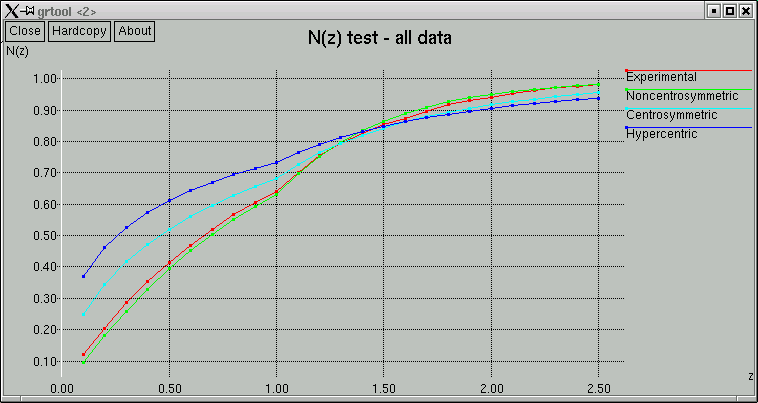
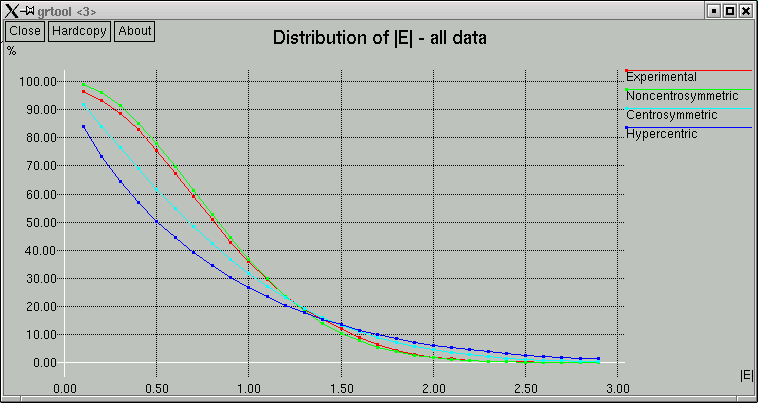
The point of these is to show whether the data appear to come from a centrosymmetric or a non-centrosymmetric crystal. Notice how, for example, the red (experimental) curves fit best with the green (non-centrosymmetric) curves. This is because the distributions of intensity data are different for non-centrosymmetric versus centrosymmetric diffraction data. Although this type of information is useful, it is quite easy to be fooled by it, so use it with caution. For example, if you have a non-centrosymmetric structure with a heavy-atom substructure, and the heavy-atom substructure happens to be arranged in a centrosymmetric way, then the statistics can be pretty badly skewed. Twinning and non-crystallographic symmetry can also have a strong influence on these numbers.
Remember also that "non-centrosymmetric" does not mean "chiral". It means (and this is important) no inversion symmetry.
In the example here, the statistics clearly point towards non-centrosymmetry, and for good reason - this is data from sucrose.
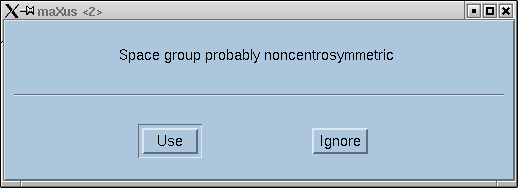
Click the "Use" button if you are satisfied.

The program chugs and churns away and then asks the following ...
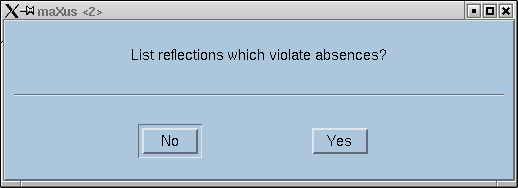
Answer as you see fit.
In the main window you get a table showing the breakdown of possible systematic absences.
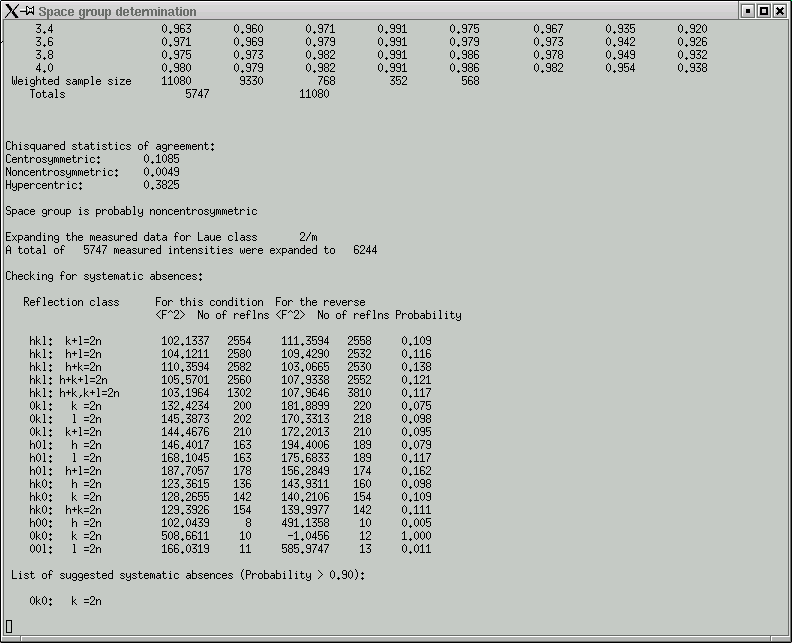
Remember, these give you some idea about the presence of symmetry elements that involve translational components, i.e. screw axes and glide planes. Compare the F2 columns for obvious large differences and check the Probability column for values that are close to or equal to 1.000. In this dataset, only reflections (0k0) that have an even number for the 'k' index are present - the odd ones are systematically absent and indicate a 21 screw along the 'b' axis of the crystal.

Click "Yes" if you are happy with the choices the program made - it is usually correct. For well-behaved crystals it is pretty much always right. The program then suggests possible space group(s).
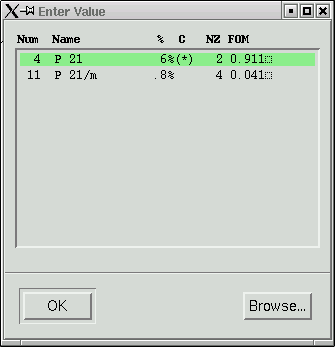
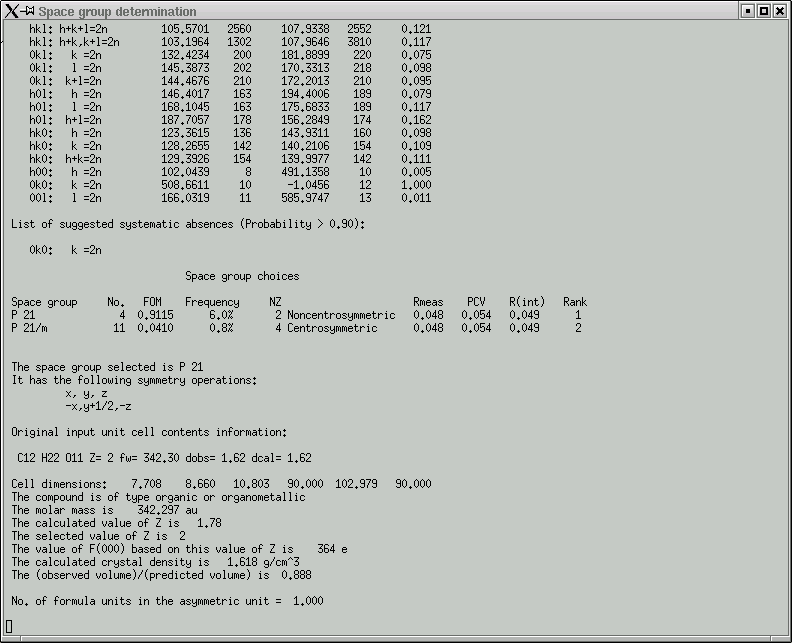
Usually the top one is correct. "FOM" stands for "Figure Of Merit", and in this case, the higher numbers agree best. Our space group here is P21.
We also need to check the program's guess at 'Z', which is the number of formula units in the unit cell. The program calculates this based on the suggested formula and the volume of the unit cell.
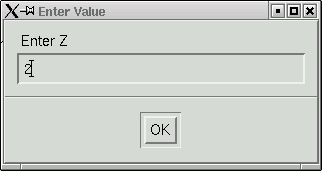
In this case it got the right answer, so click "OK" to proceed. A bunch more statistics are written into the main window ...
... and a couple of graphs are shown:
The space group determination subprogram finishes with one last click-box window ...

... and then returns you to the main maXus window:
Provided everything went according to plan (and it usually does), all the information is in place to actually solve the structure, so on to part 3 of this guide.
Go on to maXus structure solution guide section 3
Go back to maXus structure solution guide section 1
Go back to maXus structure solution guide main menu
Return to the main Tutorials page or to the main X-Ray Lab page